Detail.
|
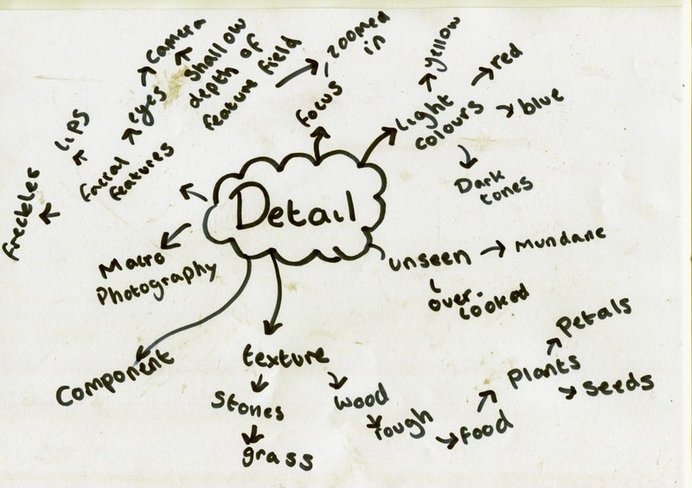
What is detail?
Where you are able to see each individual piece and thing about a certain object, for example; if you was to take a very close photo of a leaf, you would be able to see all the detail on the leaf like all the different patterns on the actual leaf and stem. Why did I choose detail? I chose detail because I think that there is many photo opportunities in this theme because its isn't limited to just one category which makes it an extremely open theme. |
|
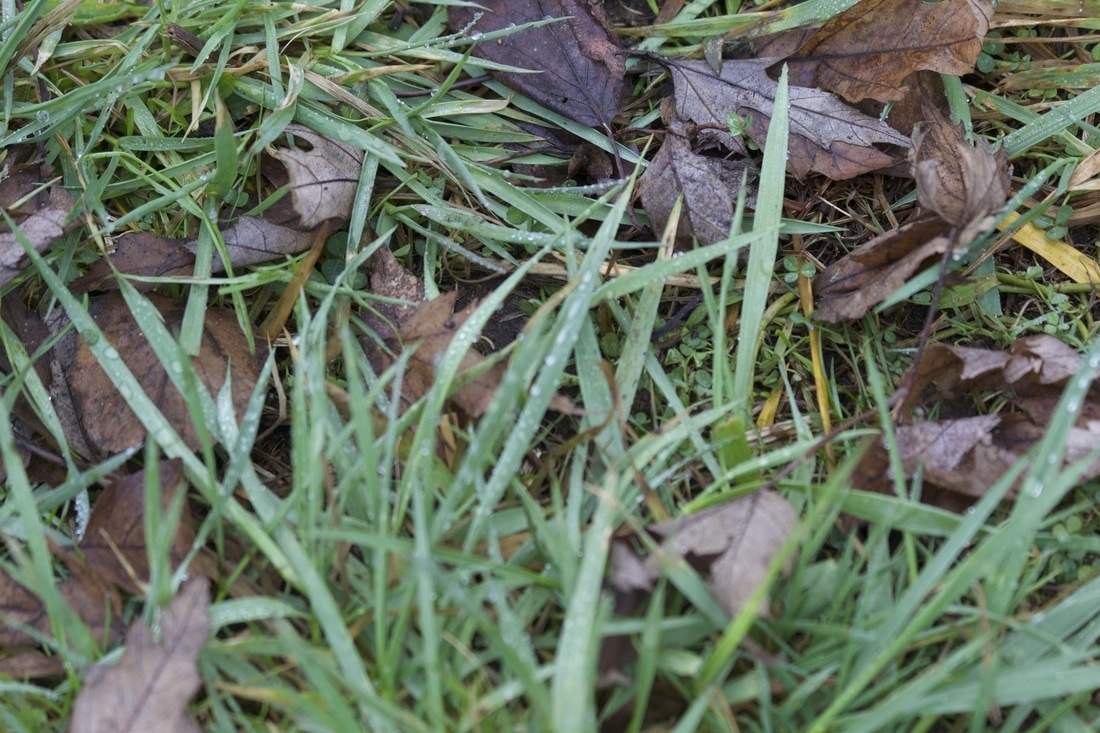
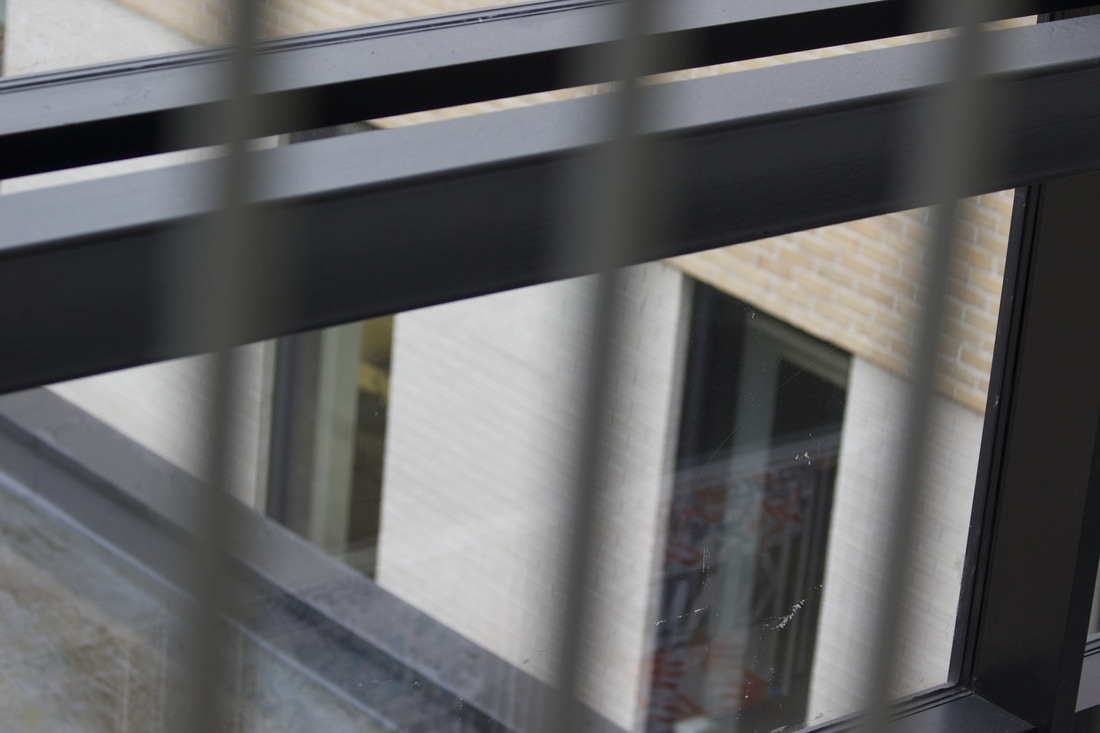
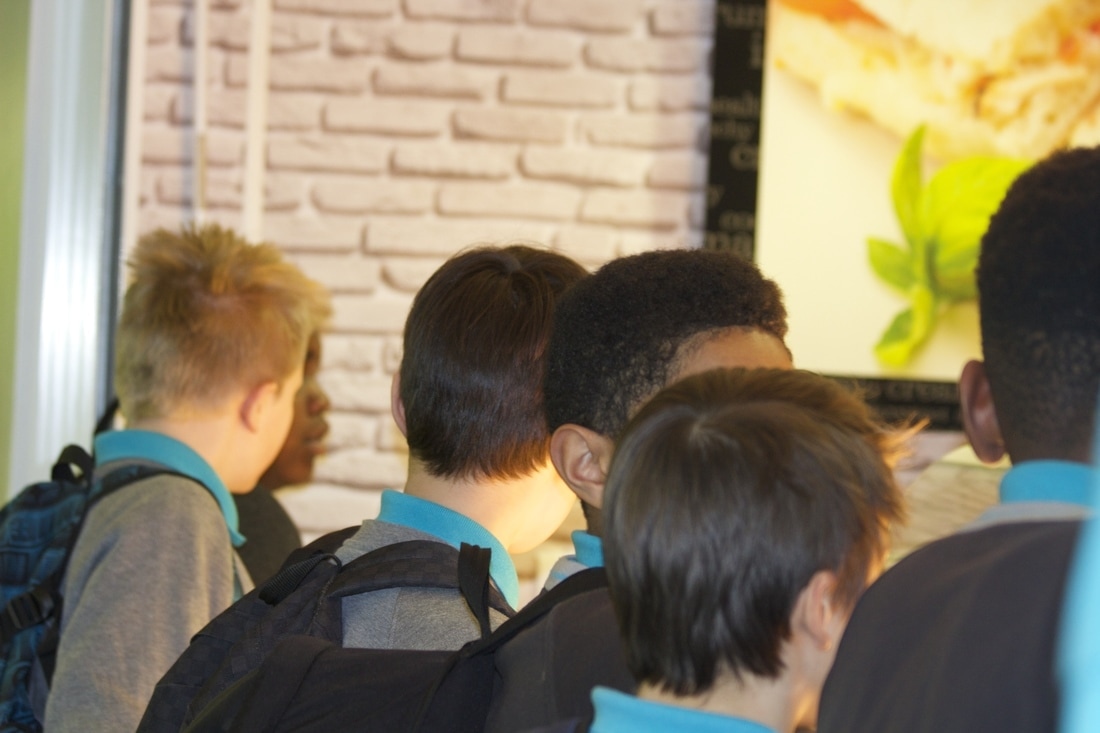
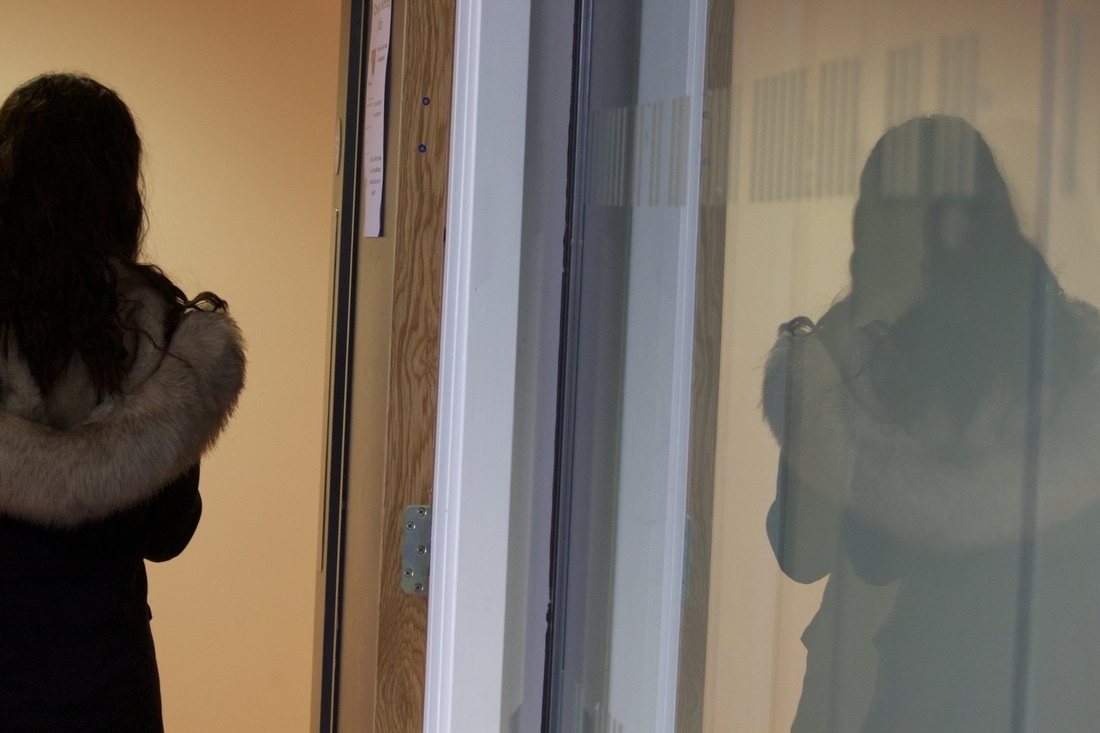
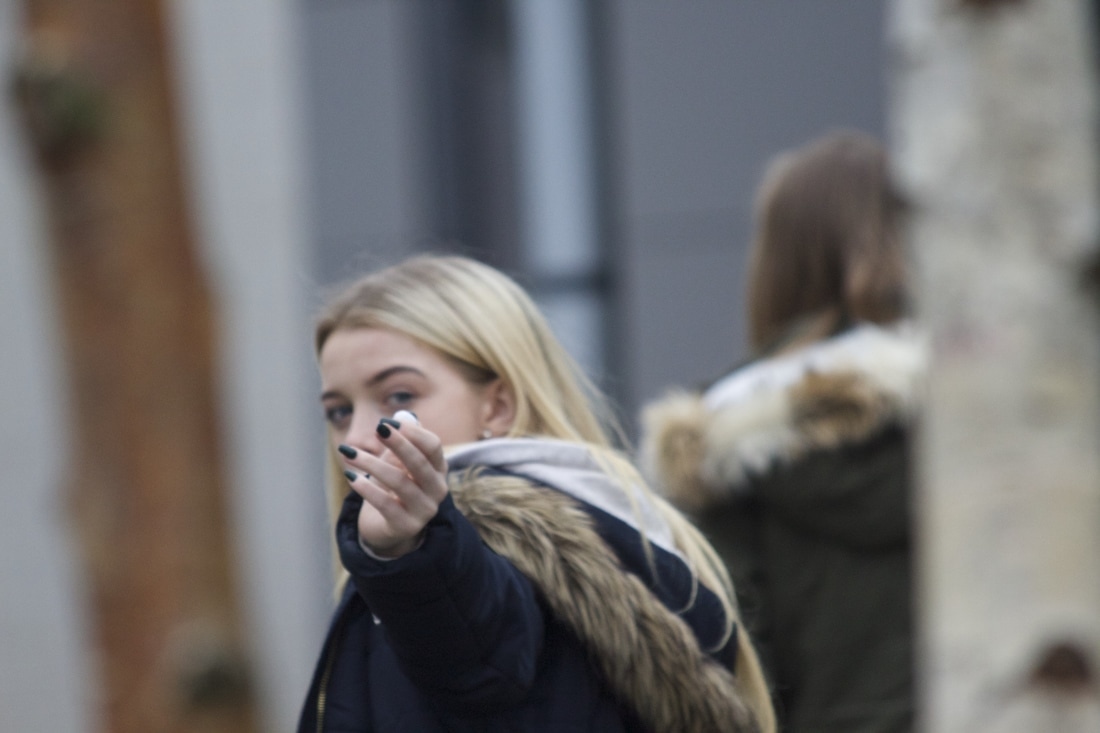
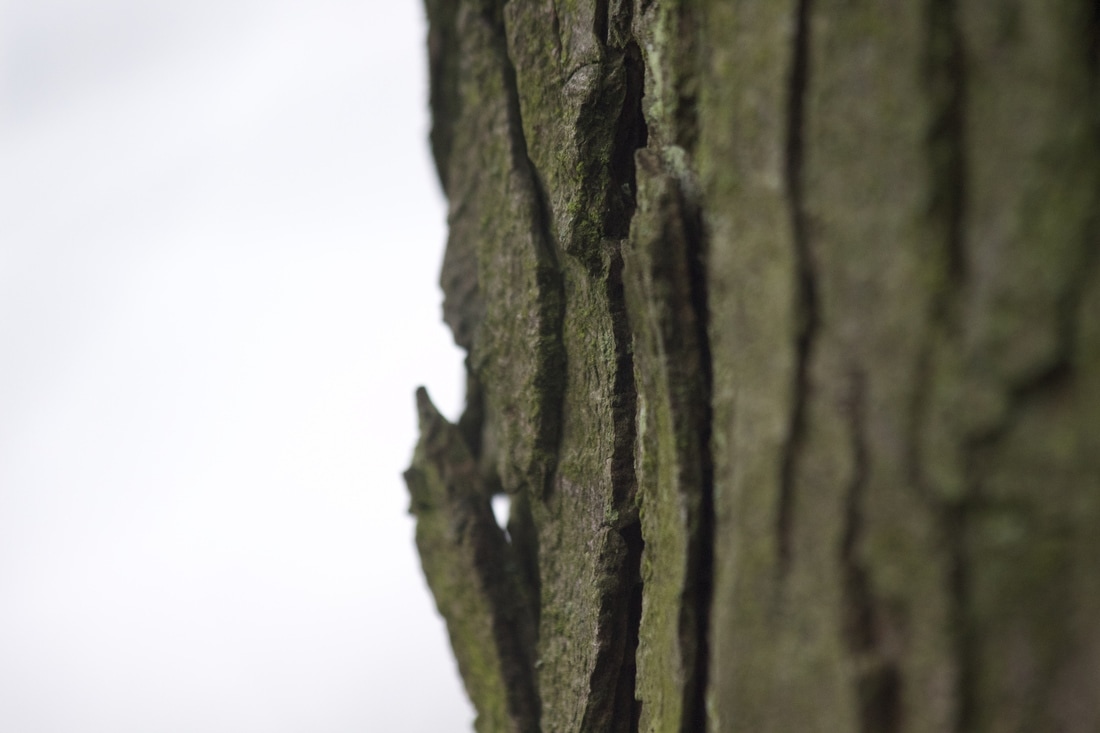
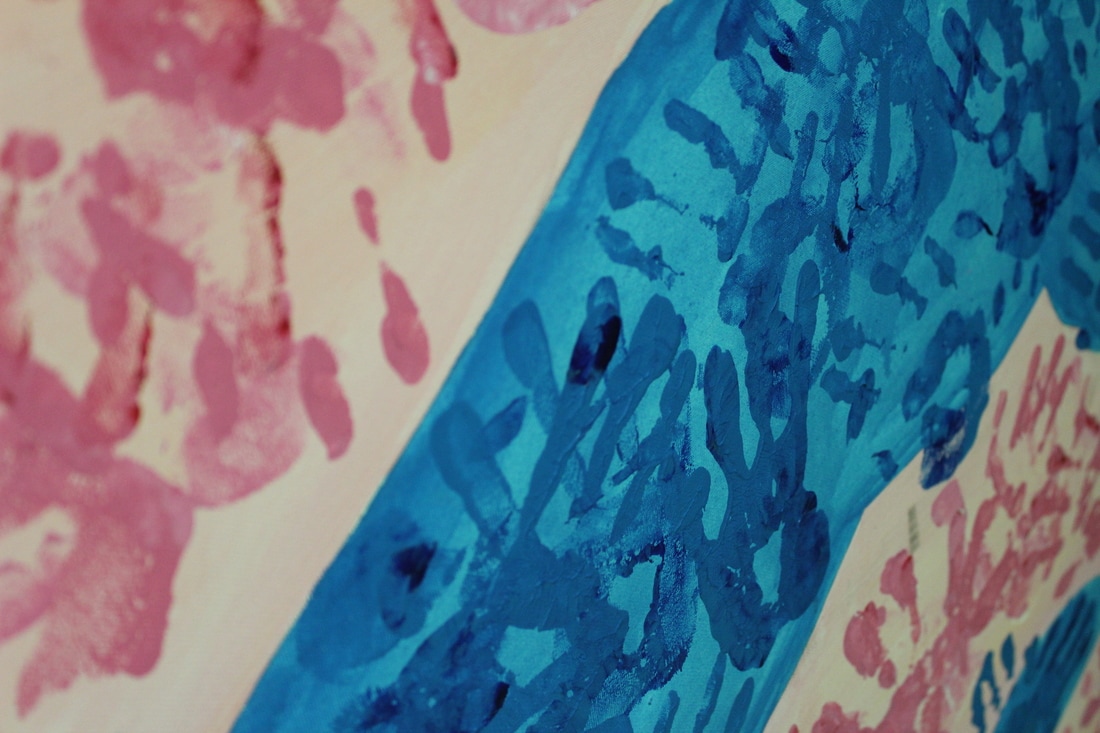
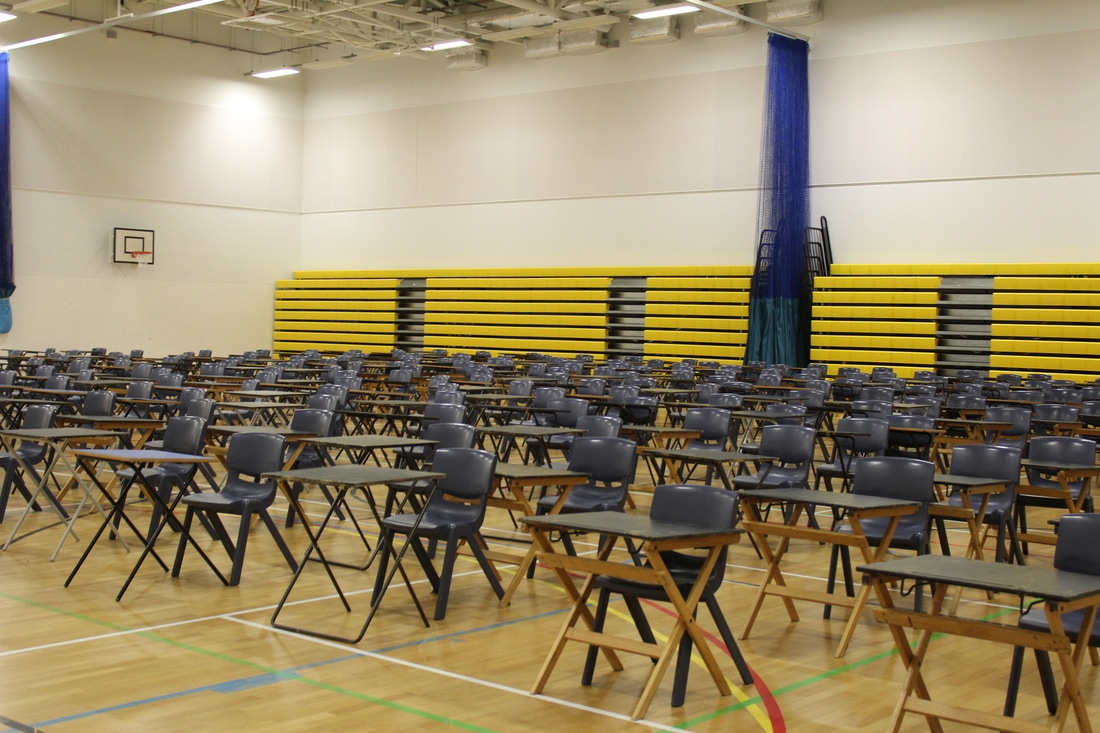
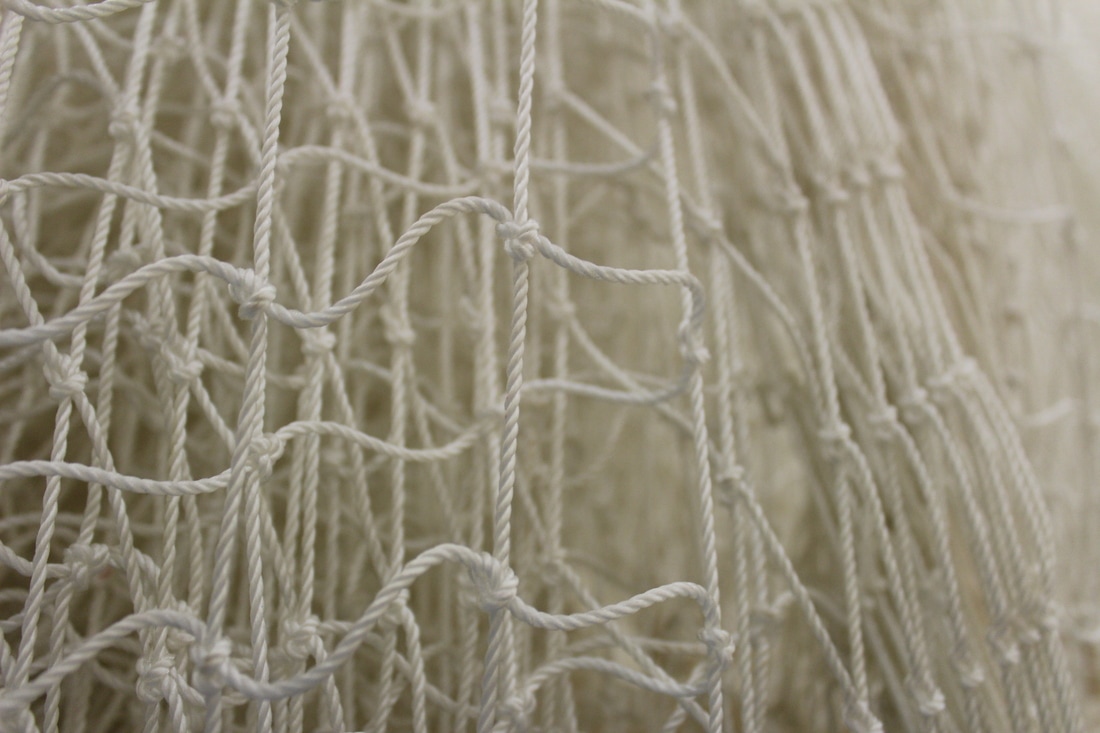
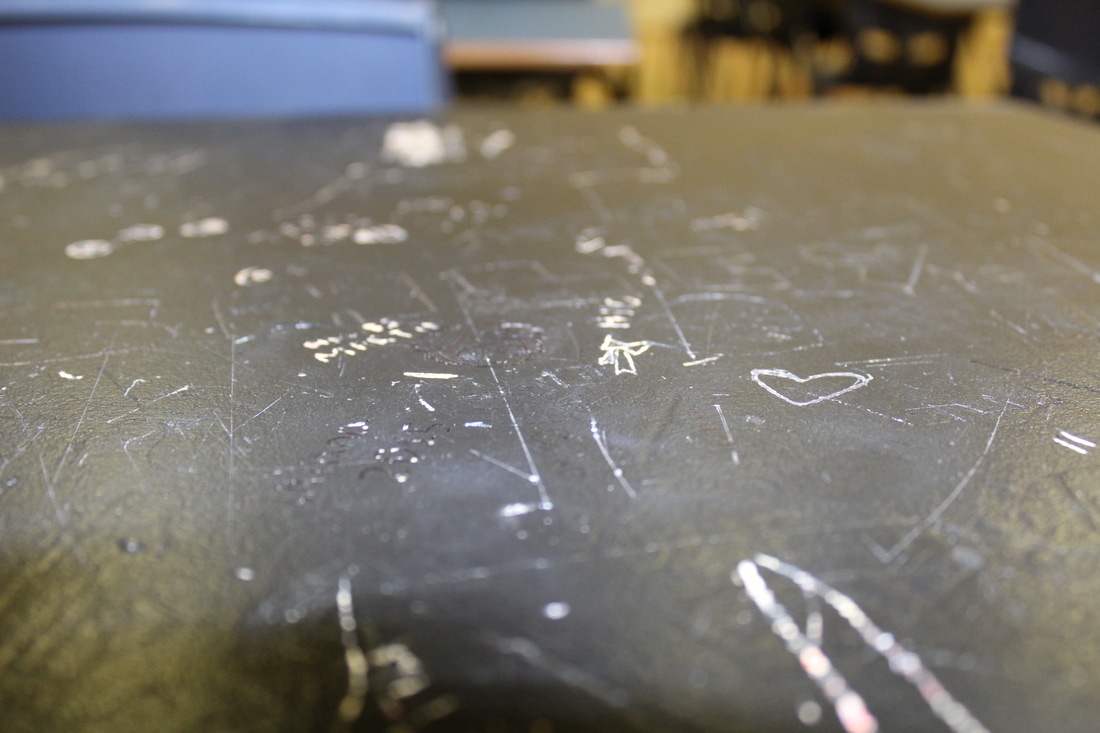
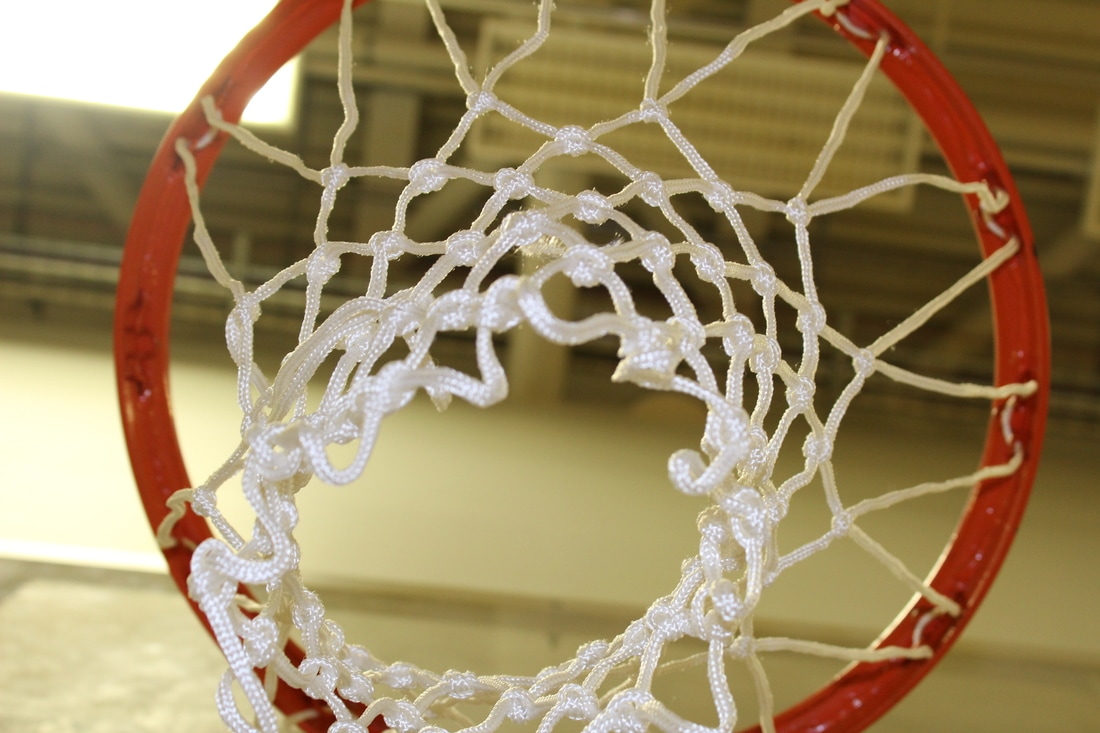
Here is my first set of images taken in school using a canon camera, using a telephoto lens which enables me to zoom in very closely to an object.These set of images are mostly based around nature which i enjoy because it is a very interesting topic which is always changing so you never have the same photo and the other photos are mainly people.
|
|
These were one of my first set of photos when under the topic detail and i am quite pleased with my outcome.
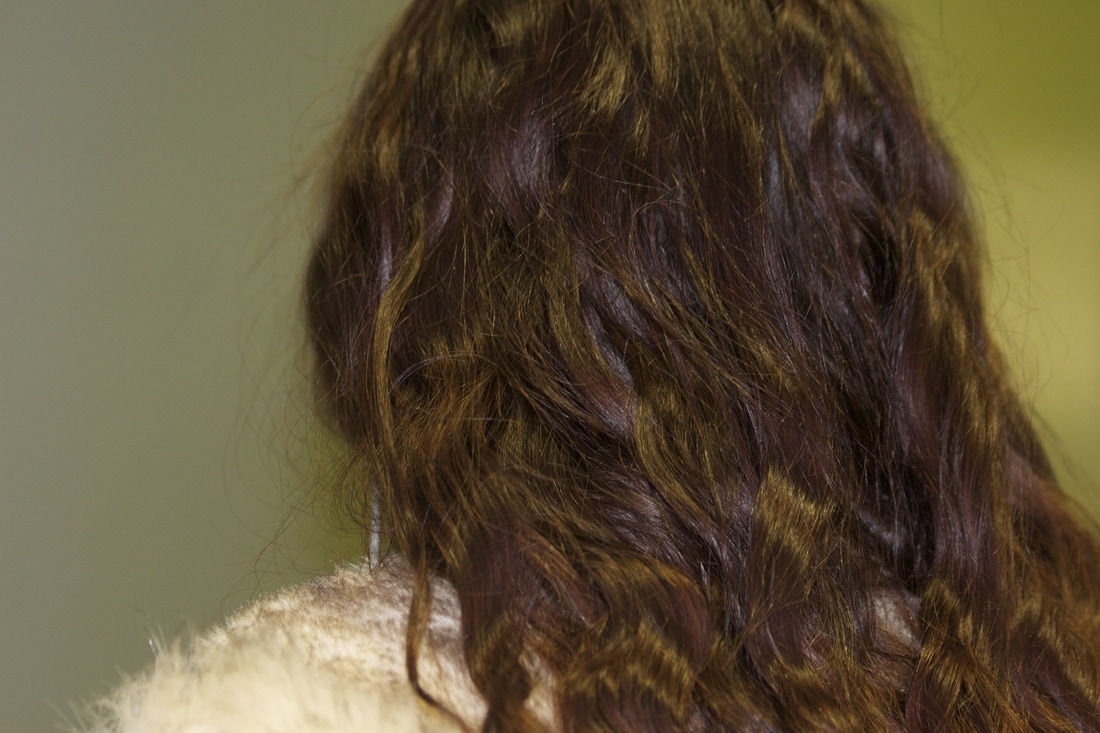
I am pleased with my first set of images because they are all in focus and you can clearly see what the images are off. You are able to see all the very close detail , especially in the photo of the student (Talulah Westwood's) hair, you are able too see all the different colours and textures of her hair. It could be better if i took photos outside of the school, so the photos would be different to ones i already have but still using the same canon camera with a telephoto lens. |

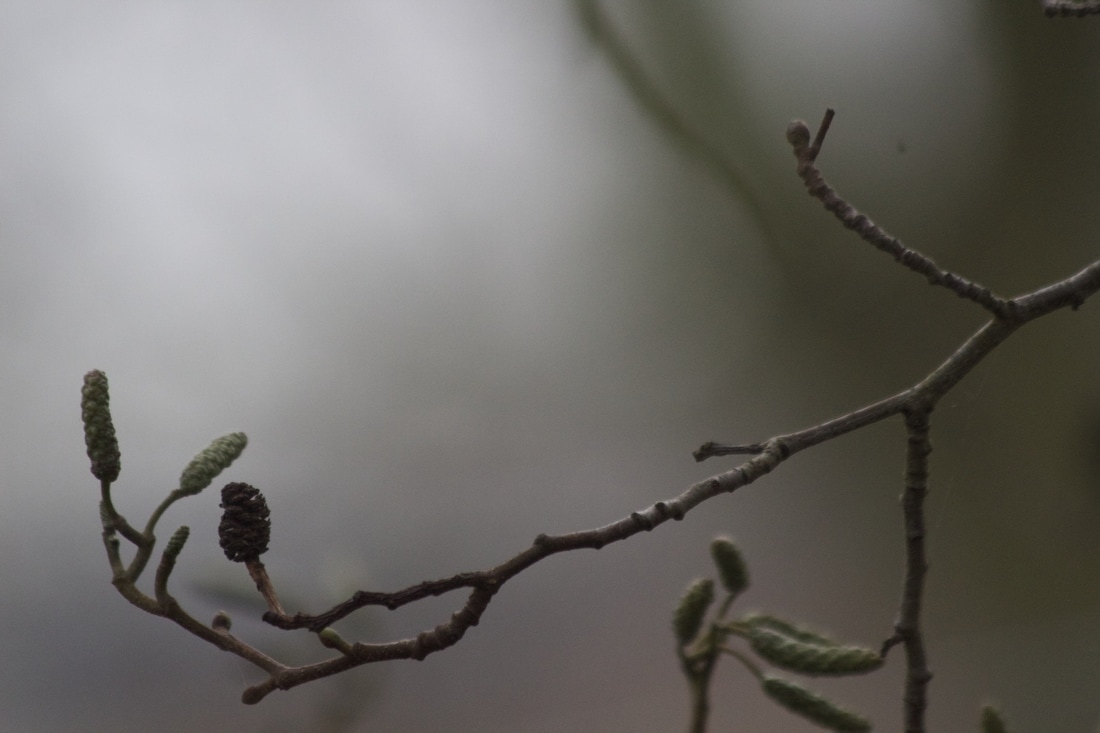
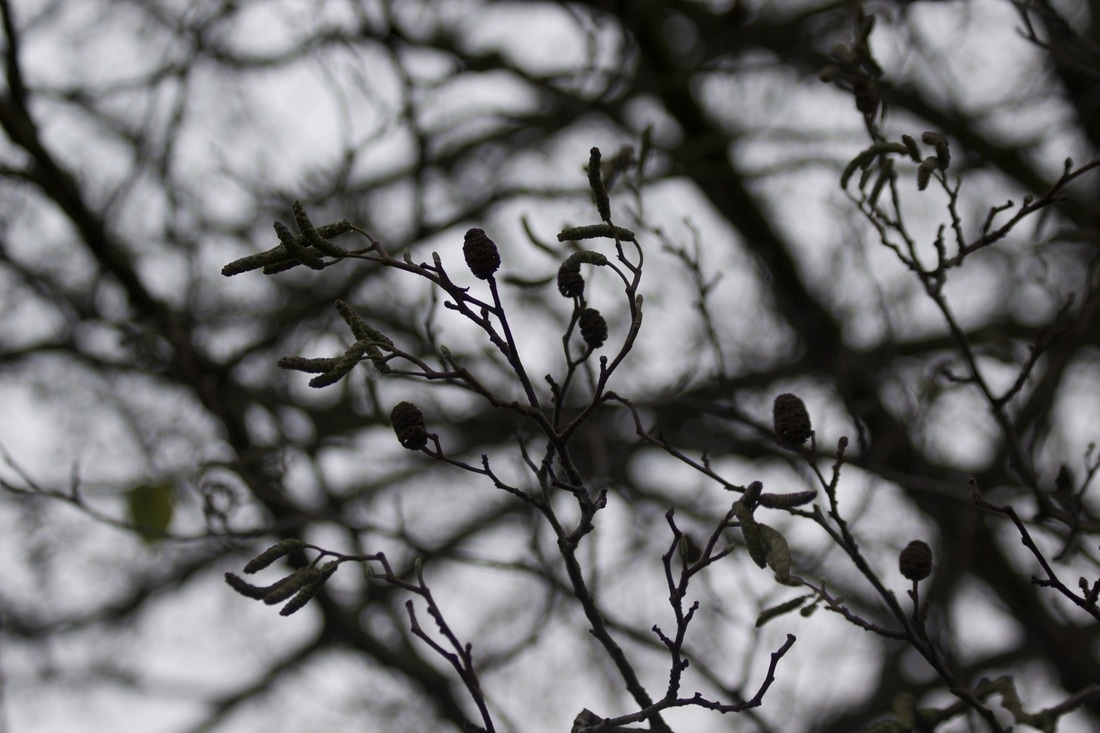
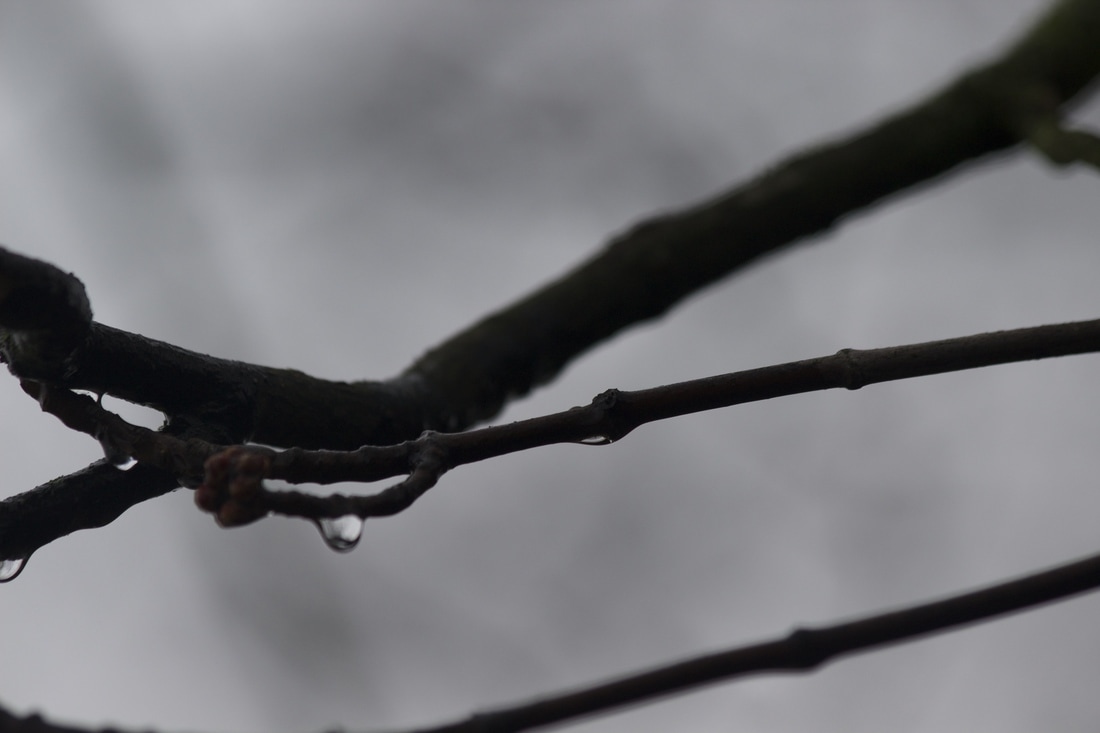

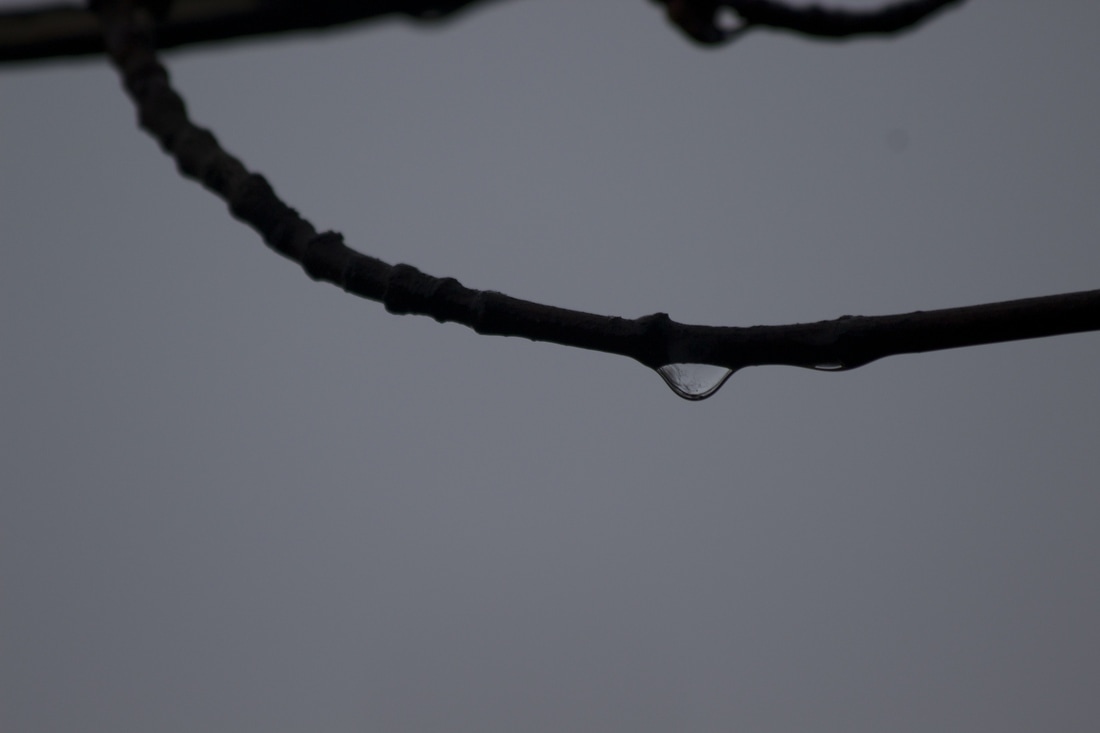
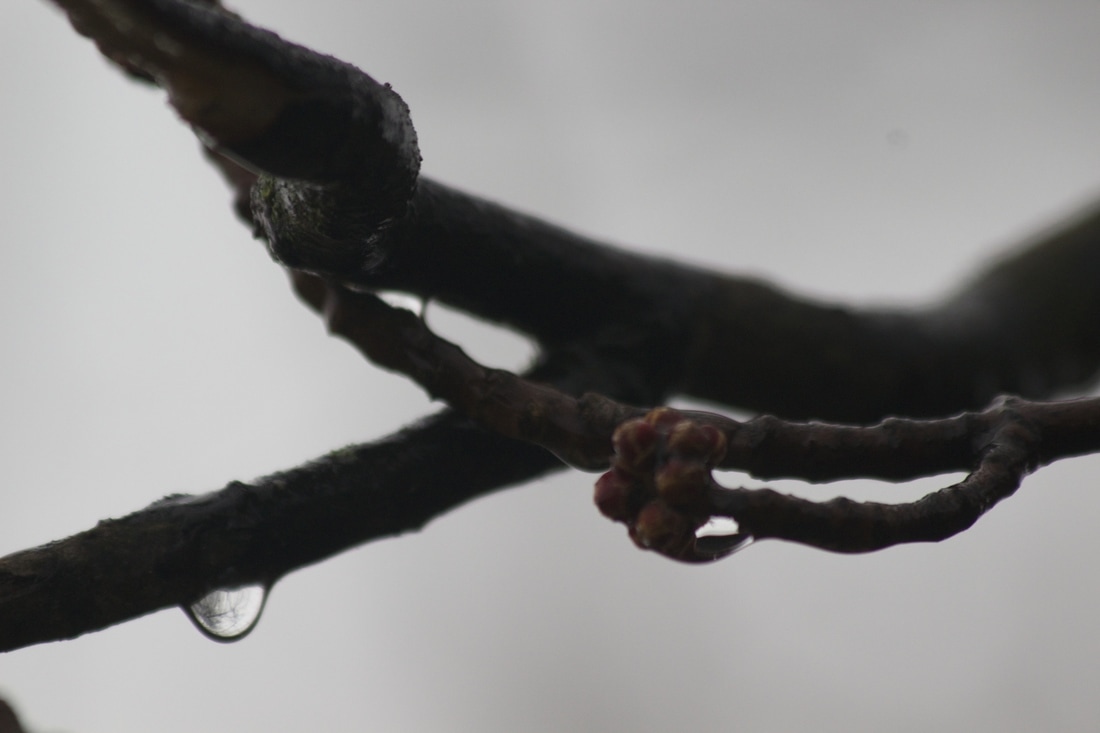

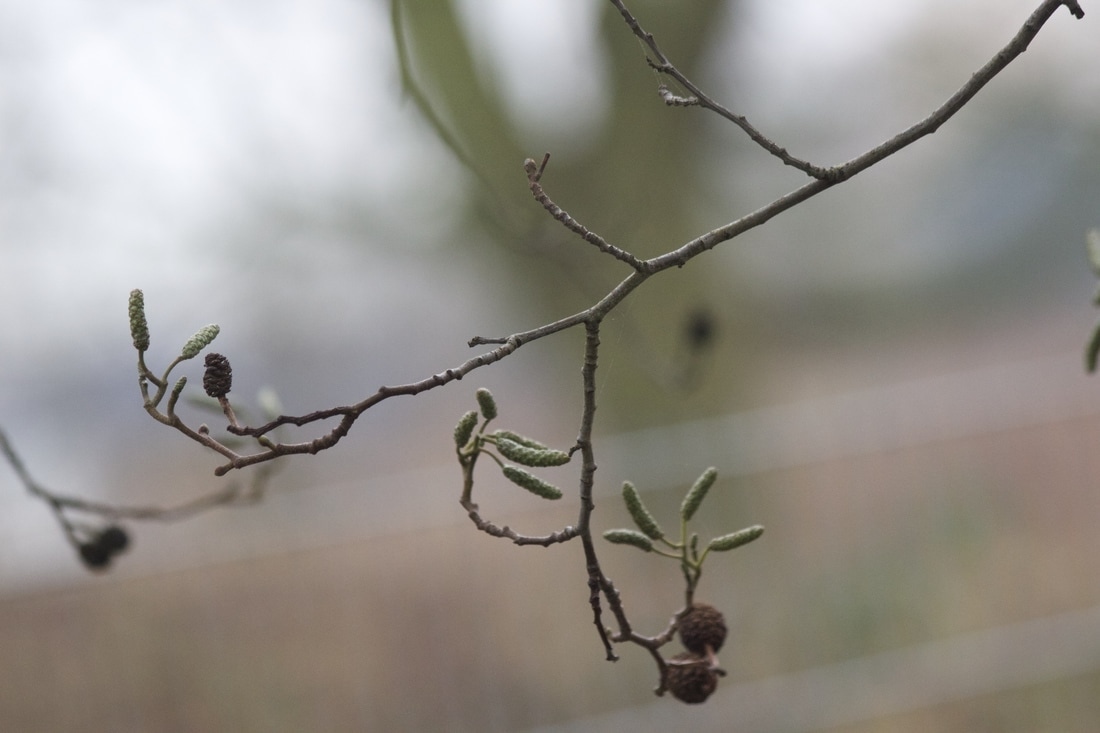
WWW: This is one of my favorite pictures that I took. This is because I really think it relates to this theme, because you are able to see all the patterns on the plants that are connected to the tree and it interests me that the plant is all in focus and i captured all the different patterns within the plant but the whole background is blurred and unclear on what is this, you can only make out blurred colours and shapes.
|
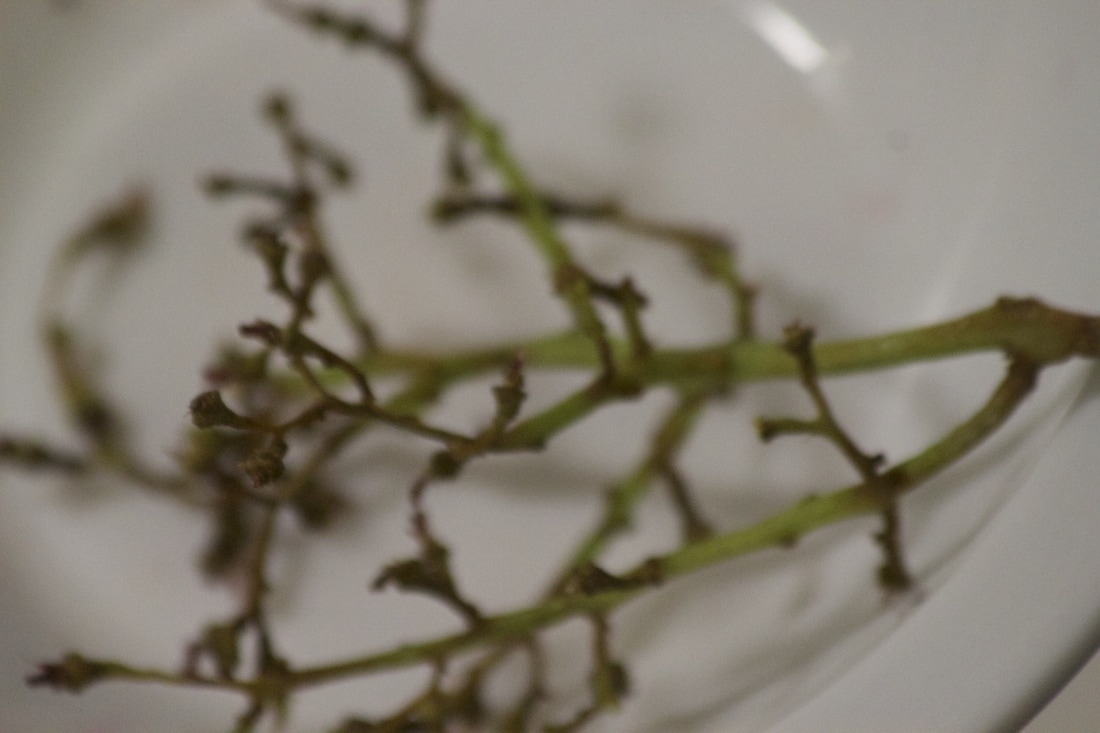
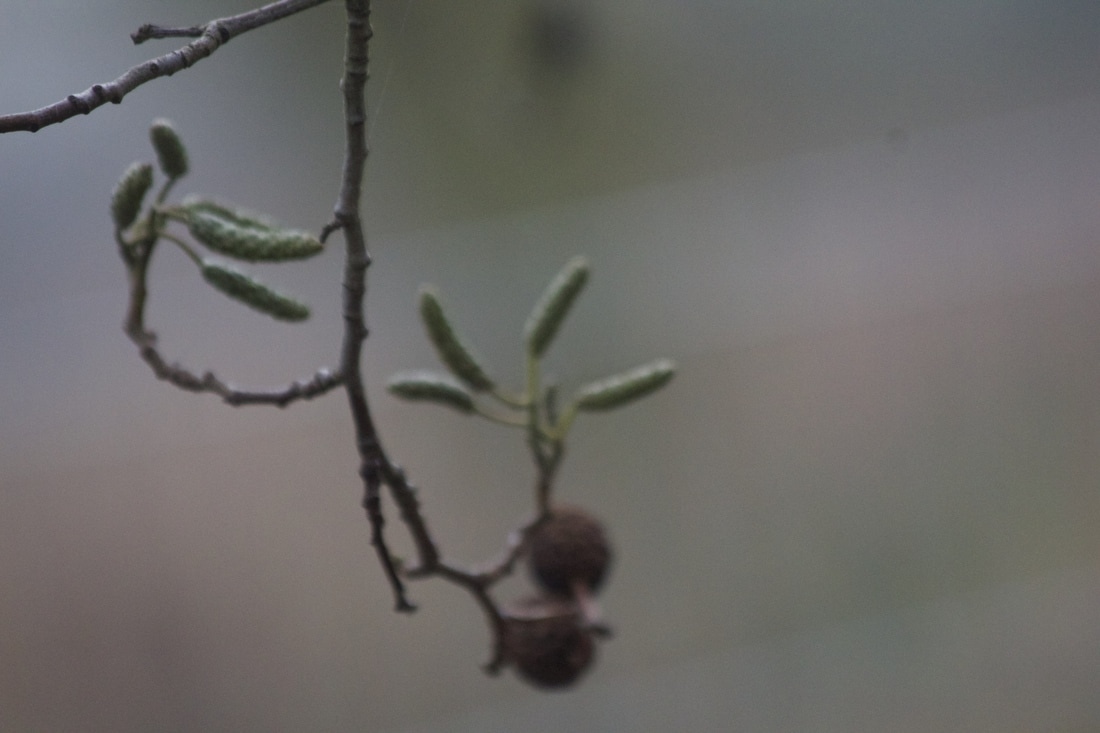
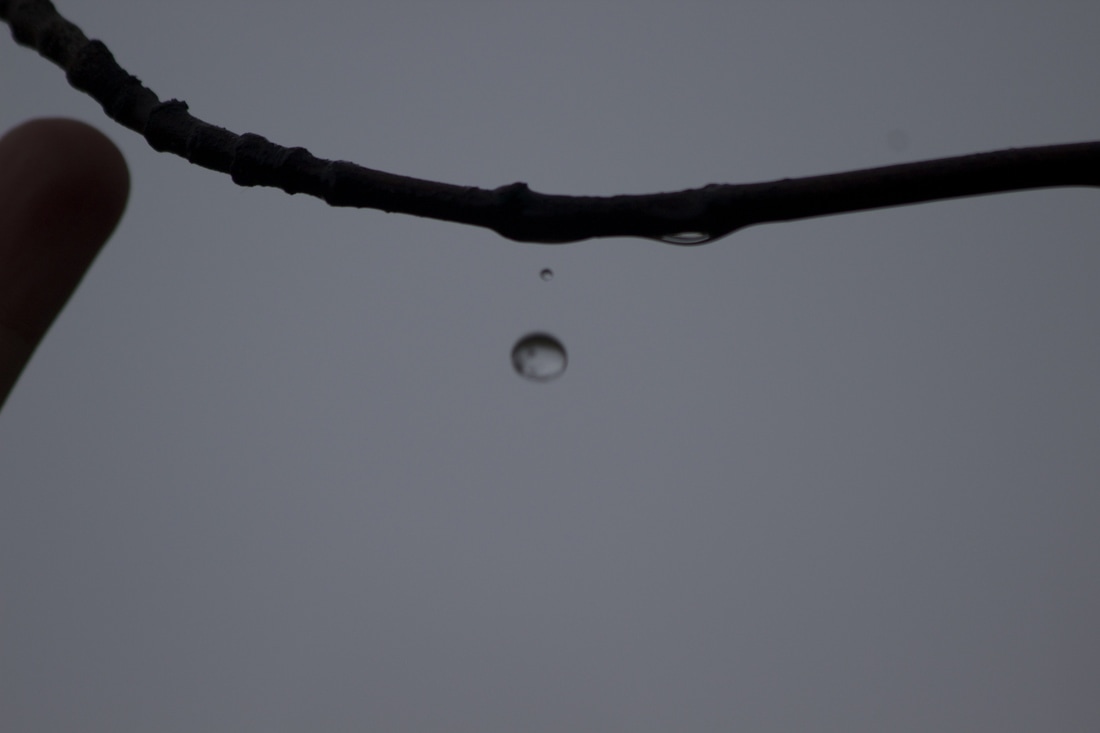
EBI: Personally I think that this is the worst picture I took because I don't like the way it looks.The whole photo is unclear, some people may be confused on what the actual image is.I would of expected the photo to be in a better quality considering i used a canon camera with the macro lens which should enable me to zoom in very closely and be able to capture the detail within the photo.
|
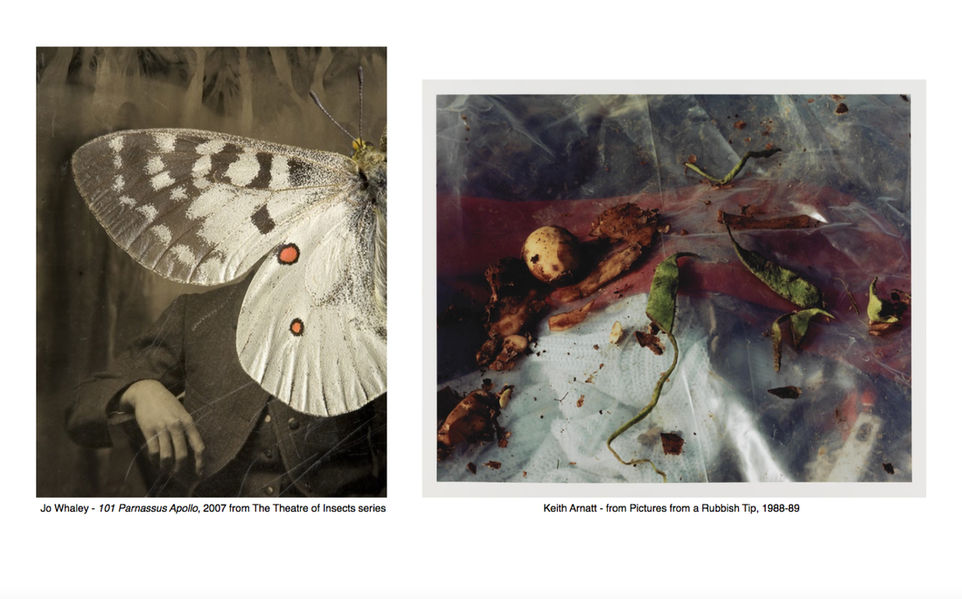
In the first photography I can see a very old photo of what looks like a man sitting down and there is a sepia effect on the photo and a bright white butterfly has been placed over his face, so you are unable to see what the person looks like.In the second photo, I can see a close up of some decaying food and leafs that are onto of a see through surface. I can also see some rubbish like a tissue for example that is underneath the clear surface. There is dried and rotting fruit and vegetable and bits of plastic and tissues.
If I could use a series of adjectives to describe the special qualities of photograph one, I would use the words , 'layers', 'organisation' and 'assemble'.For the second photo I would use the adjectives, 'Chaotic', 'messy' and 'colourful'.
When looking at the first image by Jo Whaley I can recognise a portrait of a male figure who's face is being covered by half of a butterflies body but I am also able to recognise that the background is in a sepia effect and the butterfly is in colour , and by looking at Keith Arnatt's photo I can recognise a lot of old objects like rotting food and other pieces of rubbish that people no longer need.
I think that a camera has been used to take the photos, on Jo Whaley's photo I think that the background photo was found and was not taken by the photographer because it is a very old photo, unless the whole idea was to take a photo of a person and make it look very old fashioned.Then the photographer has taken a photo of a butterfly and used possibly an application like photoshop to edit it on top of the person and arrange it so it covers the models face.With Keith Arnatt's photo I think he used a camera , possibly using a macro lens to get more close up and just took a simple photo of inside of a bin.
These photographs do not remind me of anything I have seen before , they are all unique.
Jo Whaley's photo is quite simple and plain but there are a lot of different lines and shapes within the butterfly's wing.The patterns inside of the wing create a different variety of shapes for example there are circles and squares and other random blotches of colour and along the edge of the butterfly's wing are lines of about 2cm just going straight facing the centre of the wing. Keith Arnatt's photo is a very chaotic image, there is a lot going on and there is also a lot of bursts of colour.There are so many different shapes and lines for example, all the rotting food has shriveled up giving it a abnormal shape and it is a completely new shape to what it previously was.
|
|
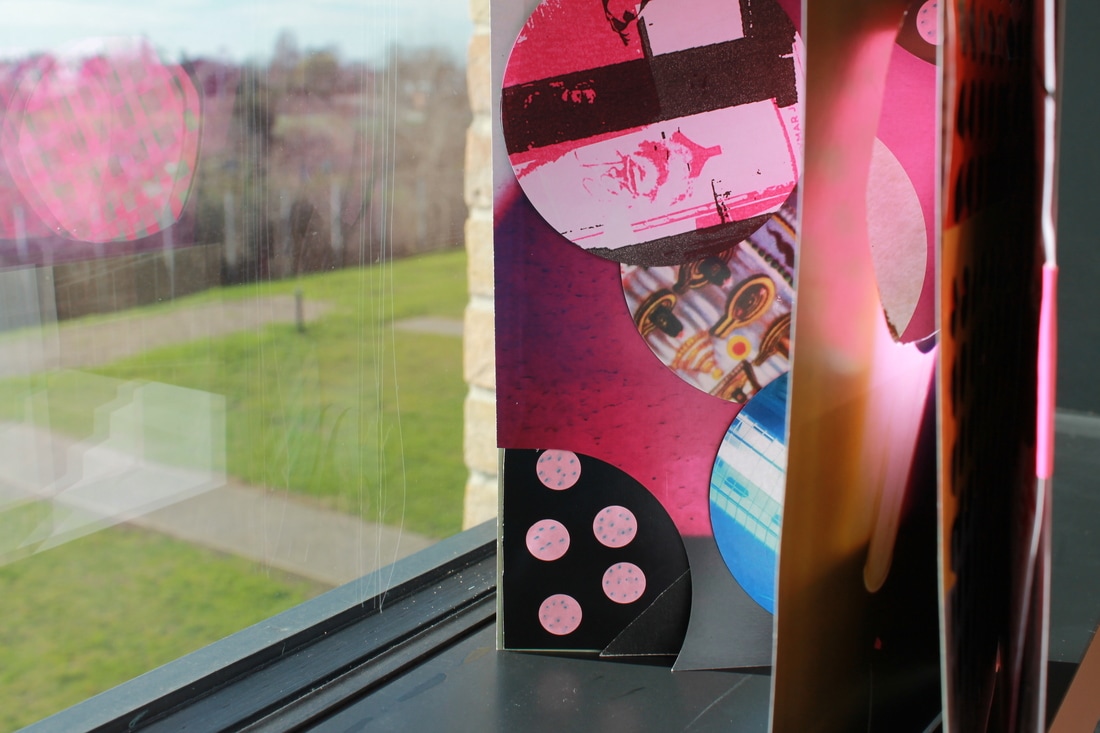
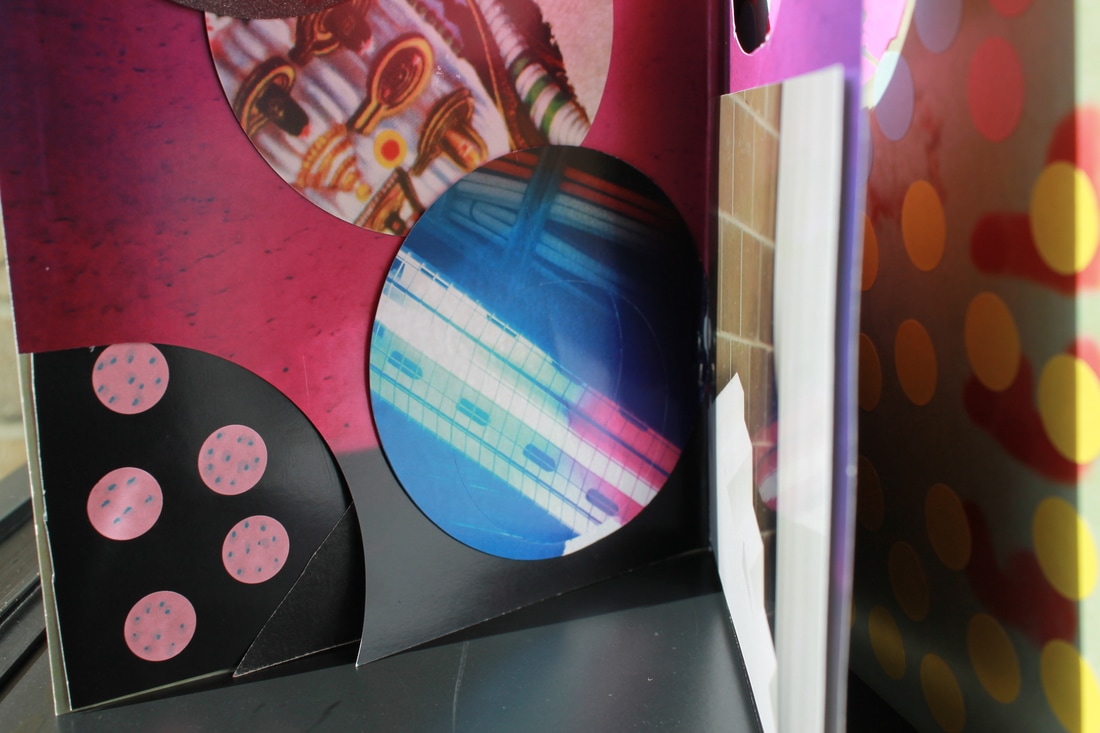
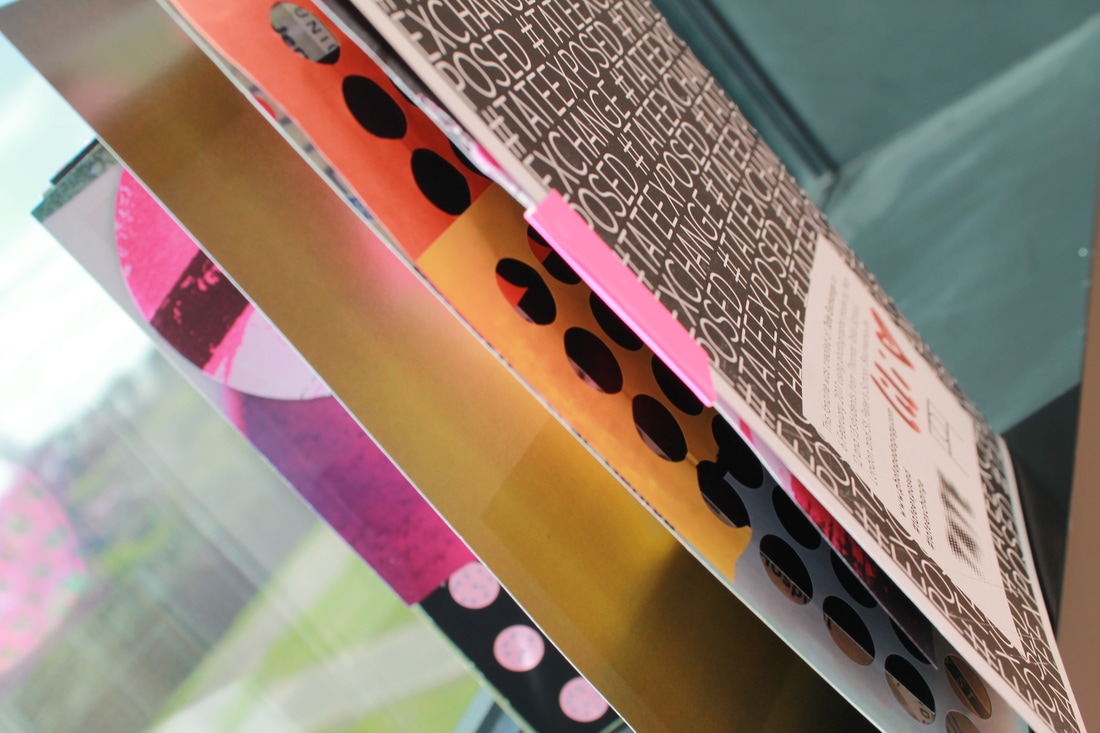
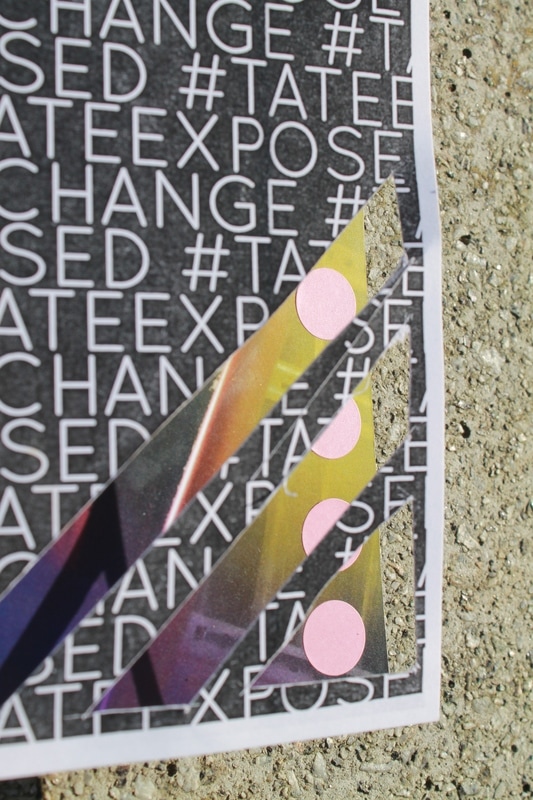
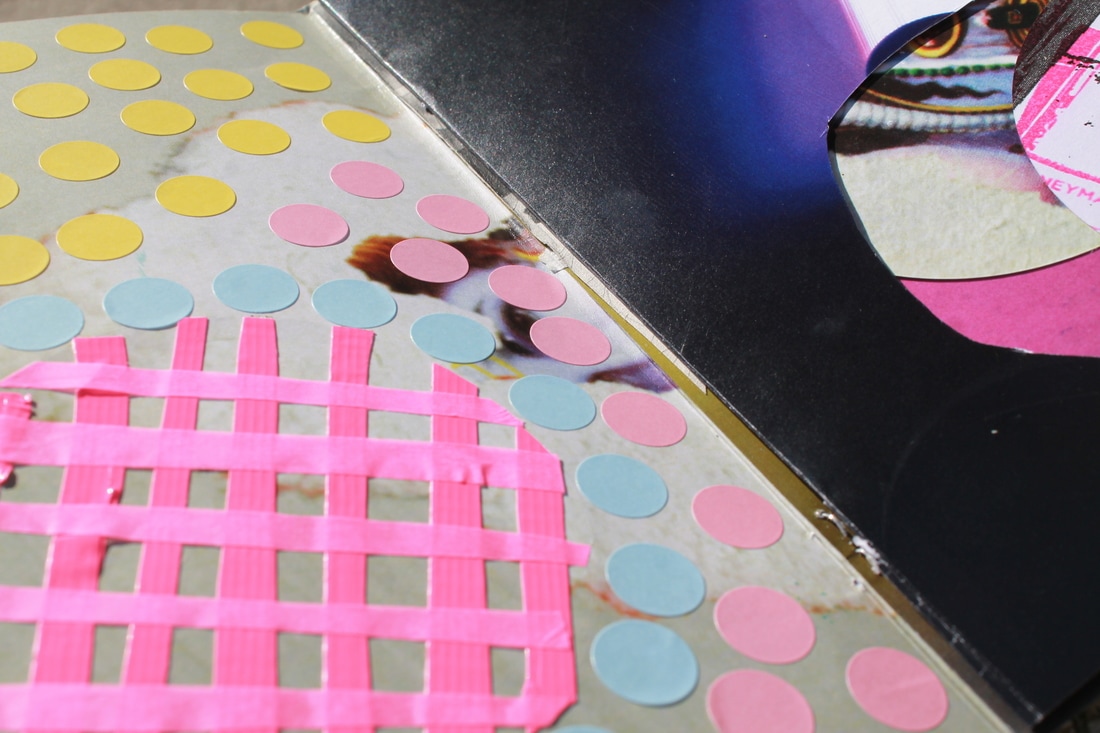
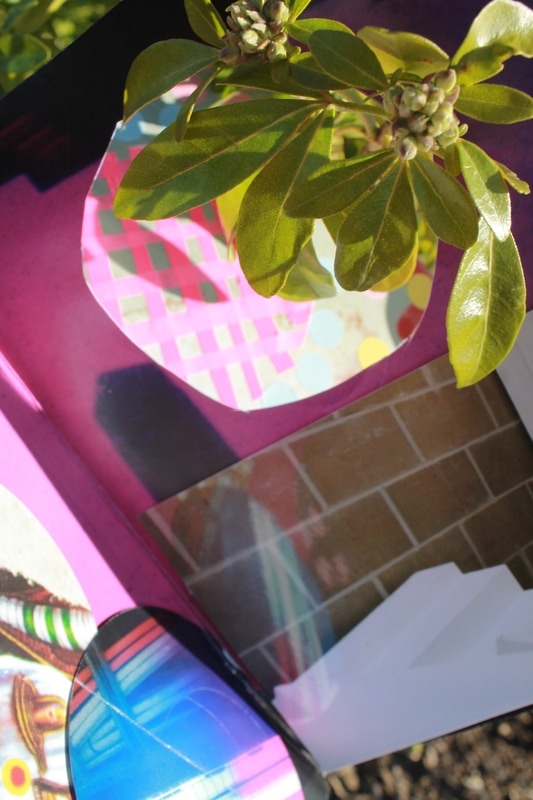
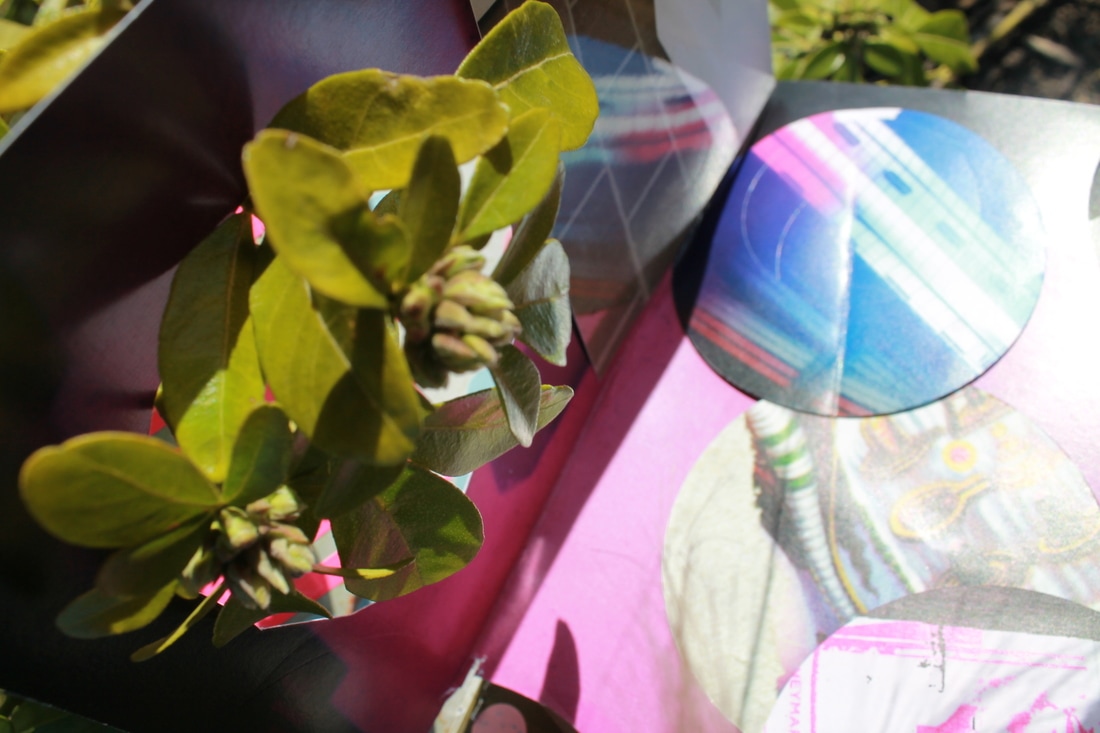
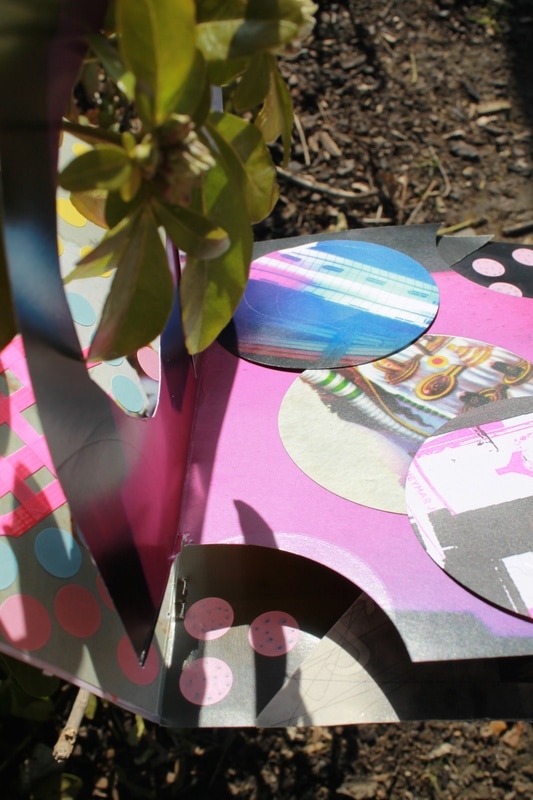
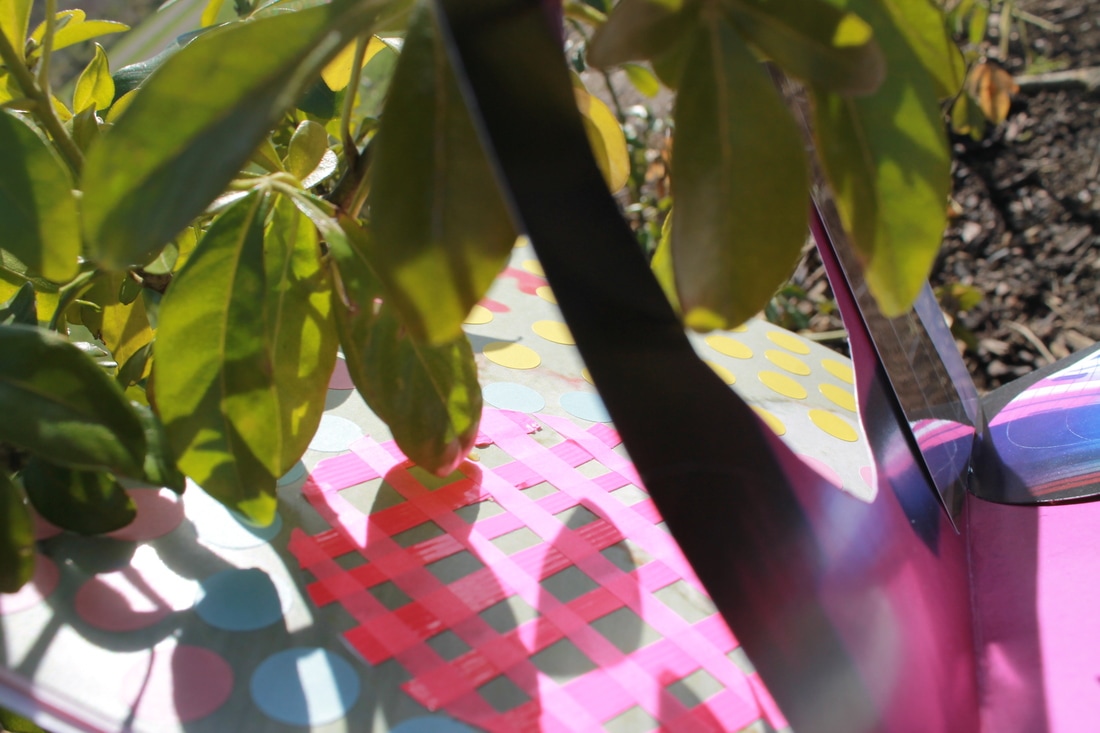
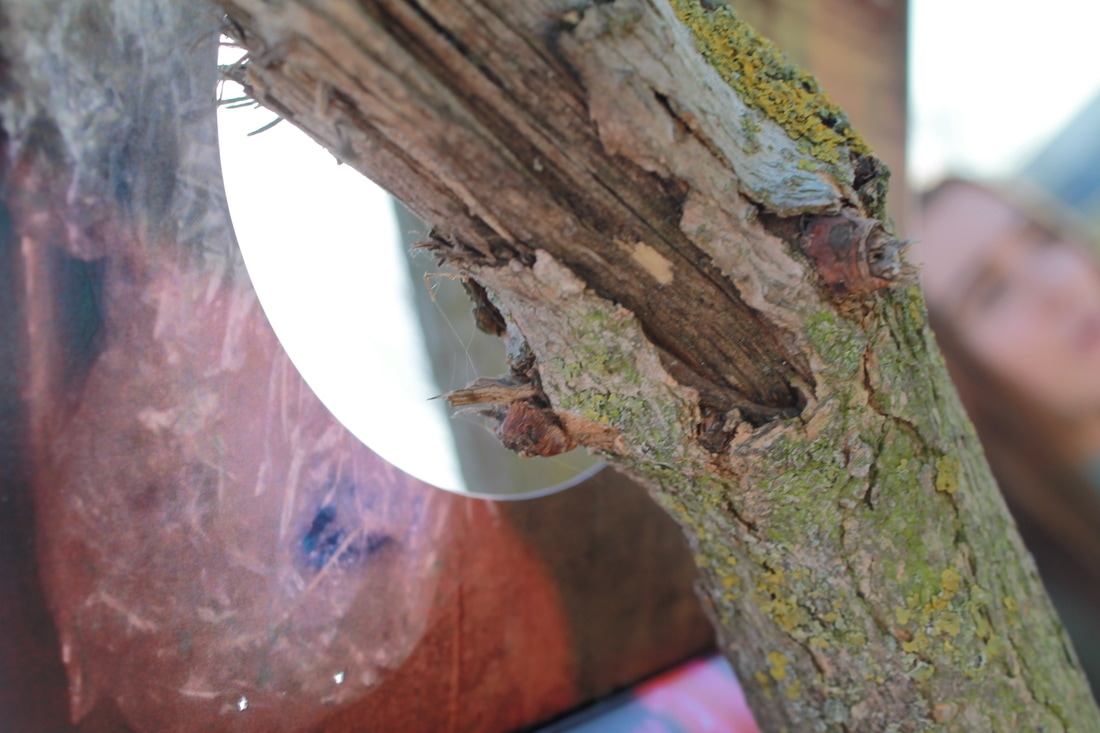
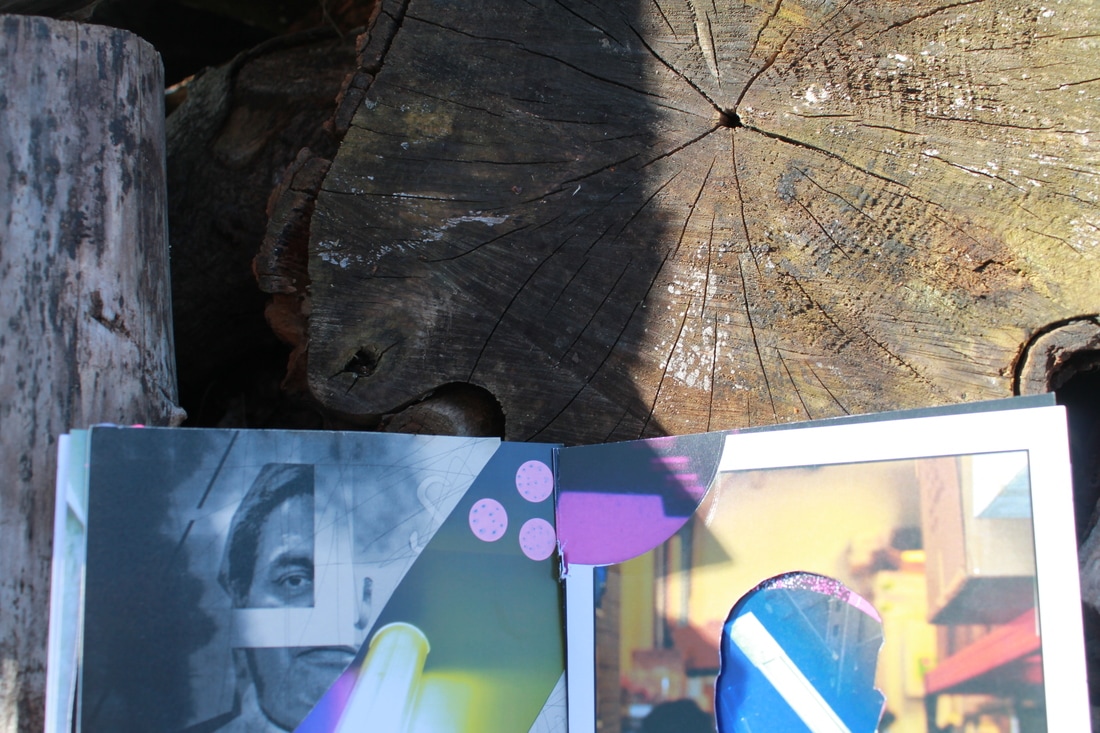
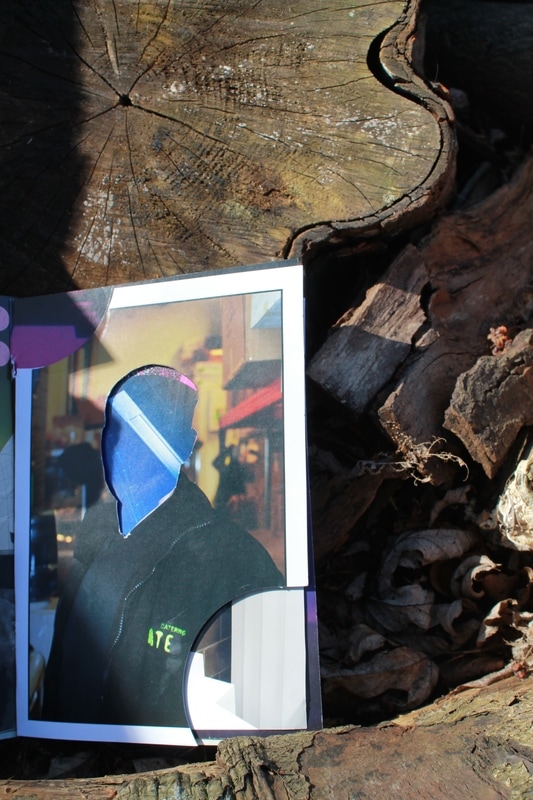
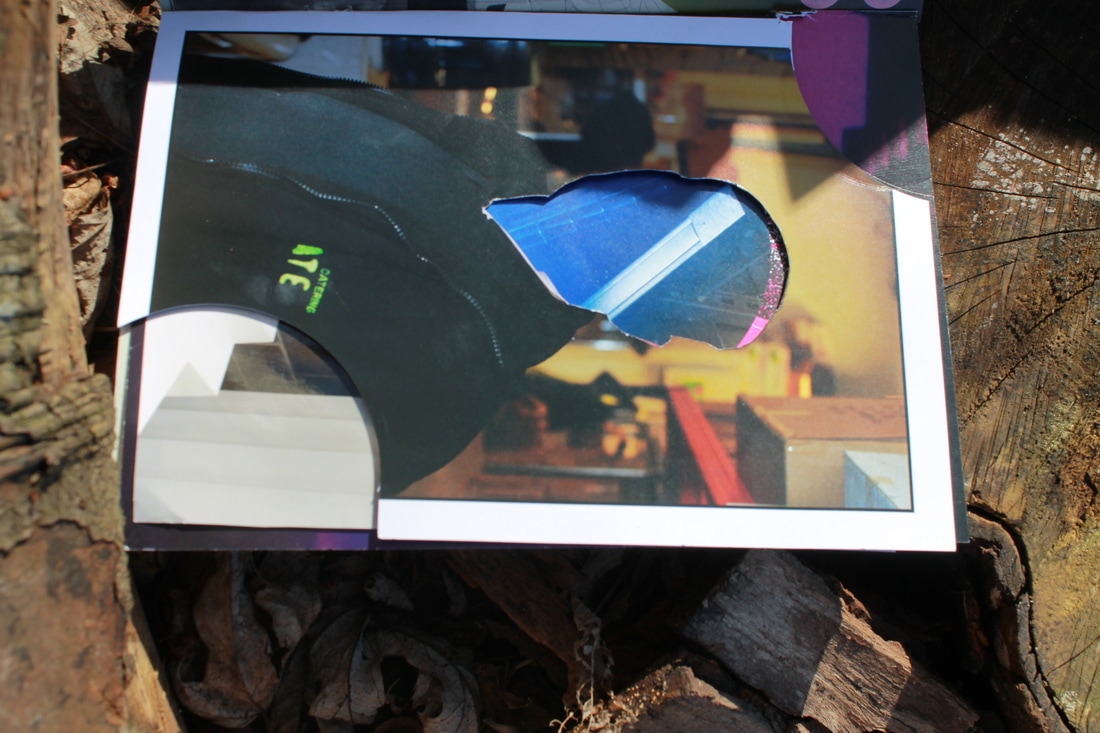
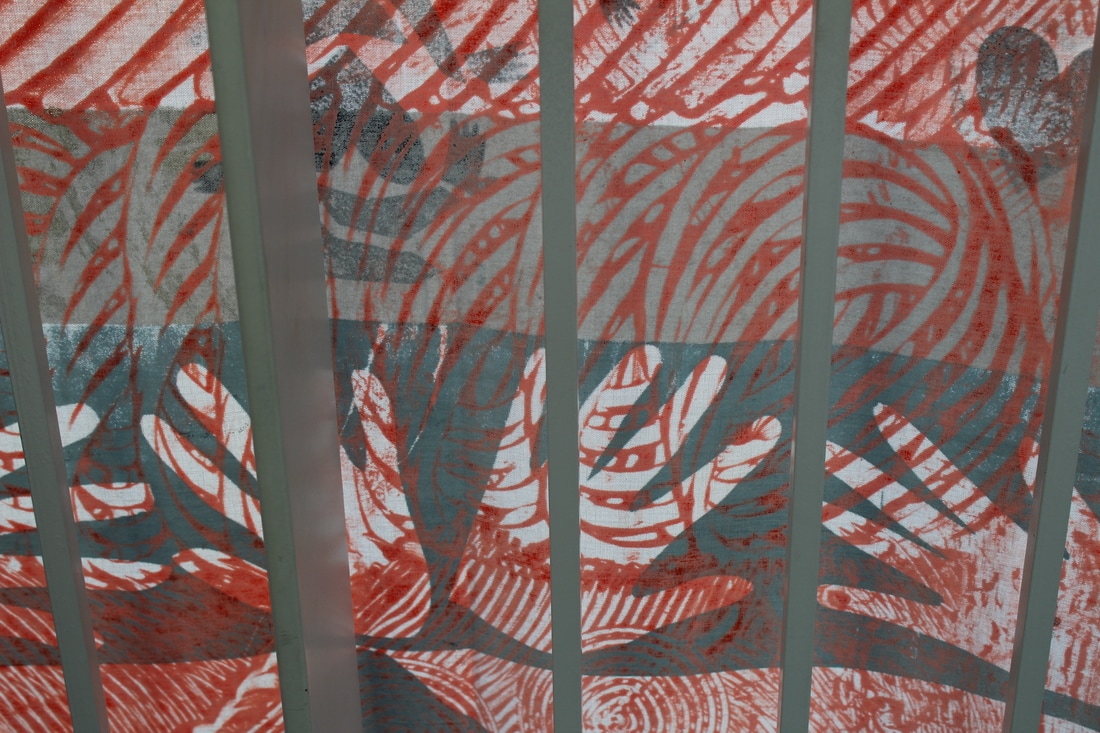
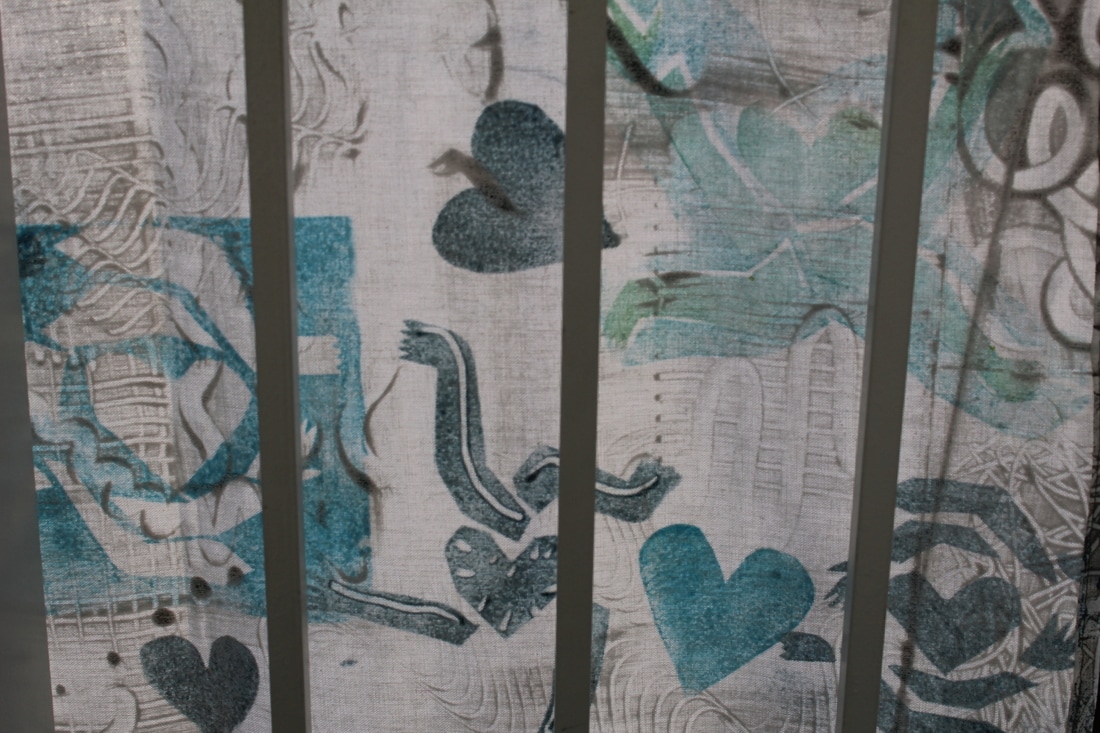
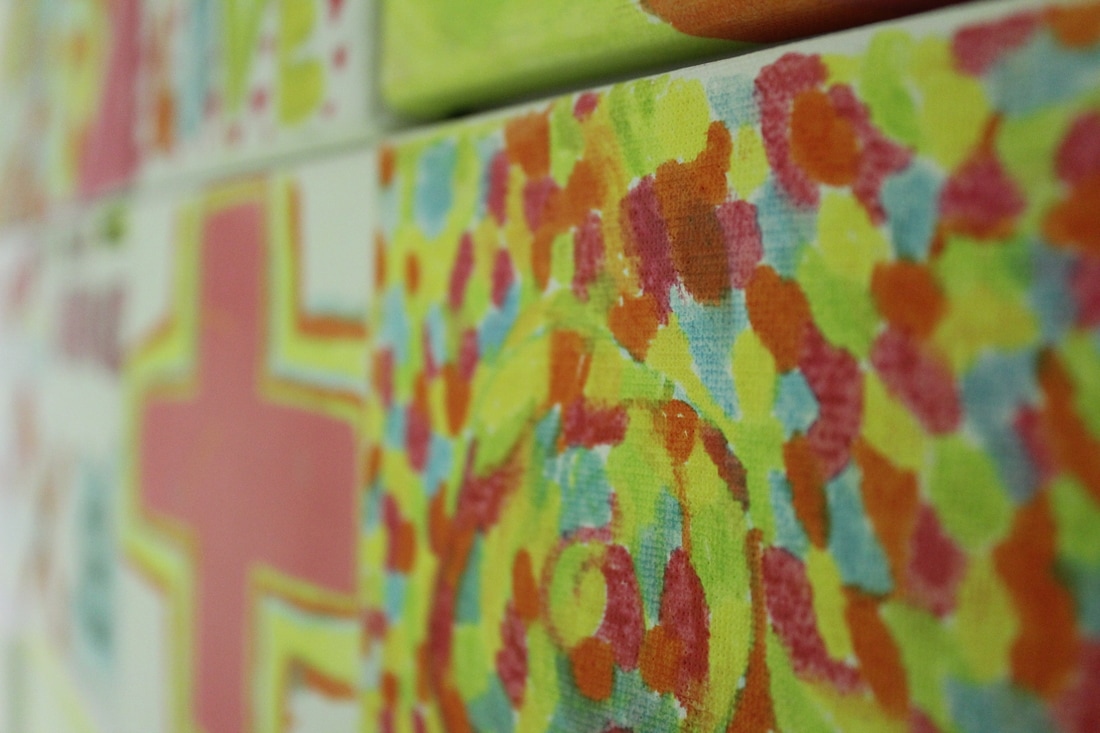
These images were taken after a very fun and unique photography lesson.The objective of the lesson was to be creative and have initiative.Our teacher gave us a massive bunch of random crafts, for example we had rolls of tape, multicoloured stickers, stacks and stacks of photos and posters and banners and scissors and we had to make a creative booklet but there is only one rule which is that we are not aloud to use glue! And after all my work had finished I took it out and around my school I photographed it from different angles and captured the light on it in certain ways.
|

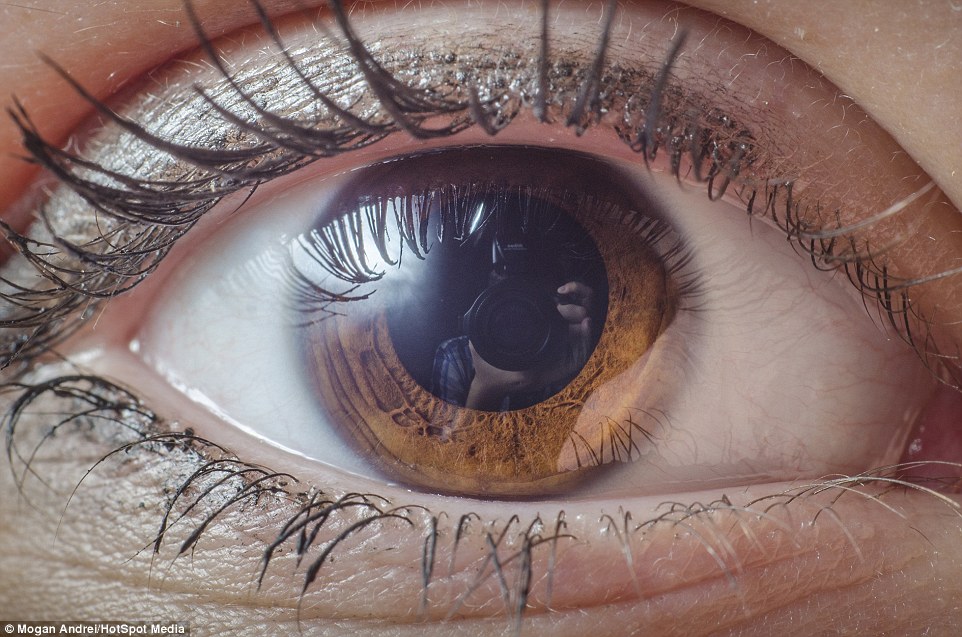
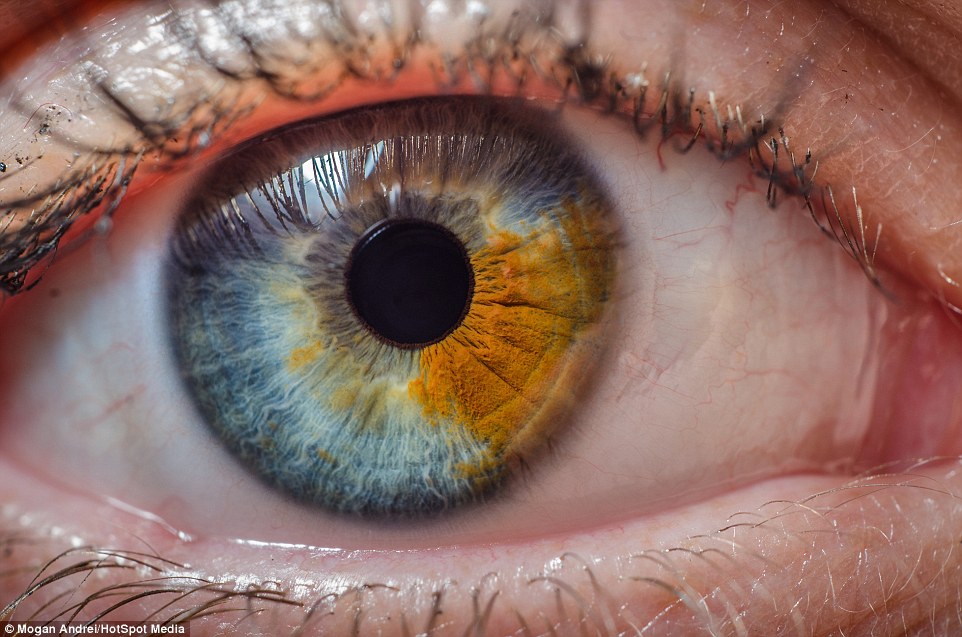
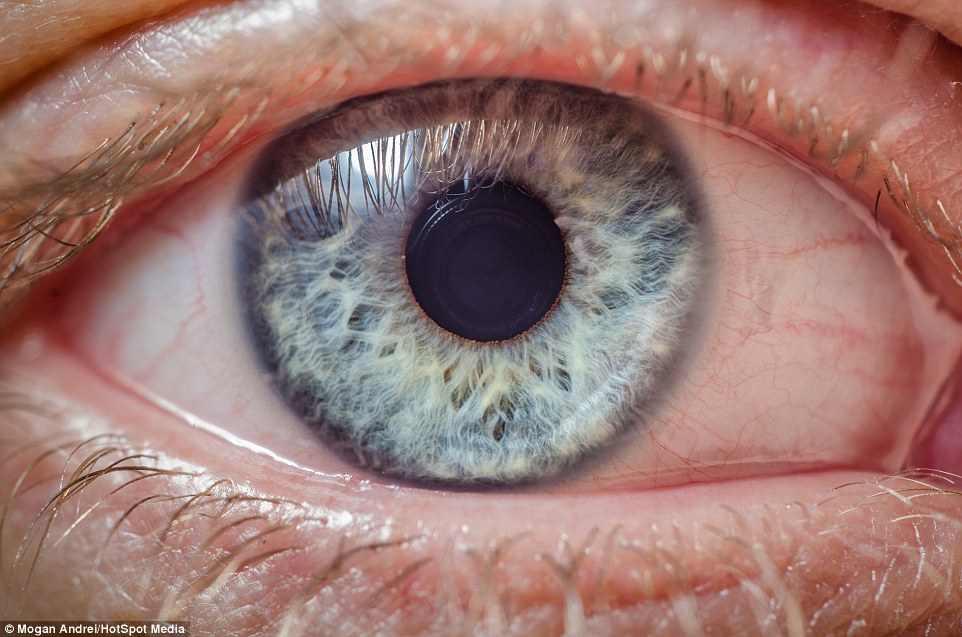
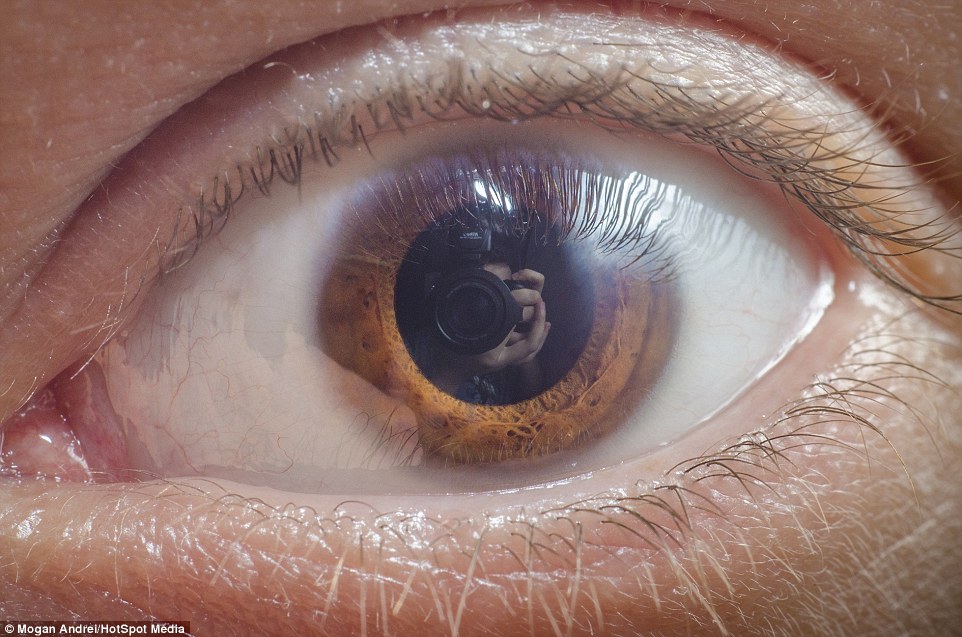
Research: Mogan Andrei
|
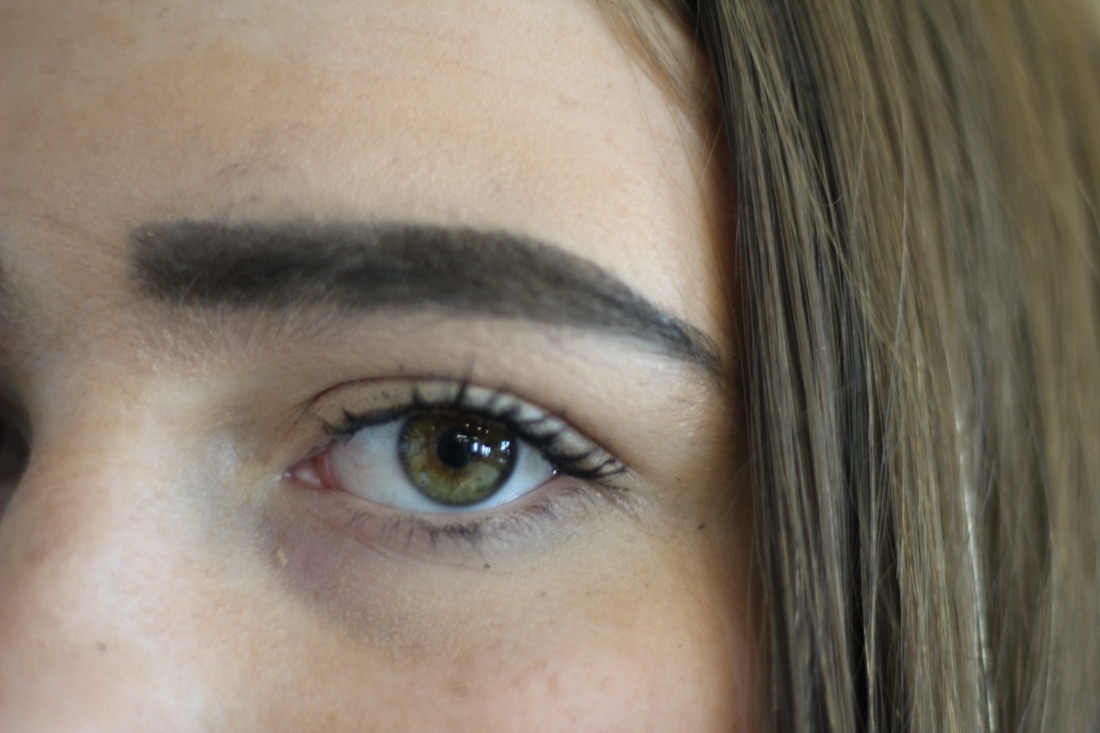
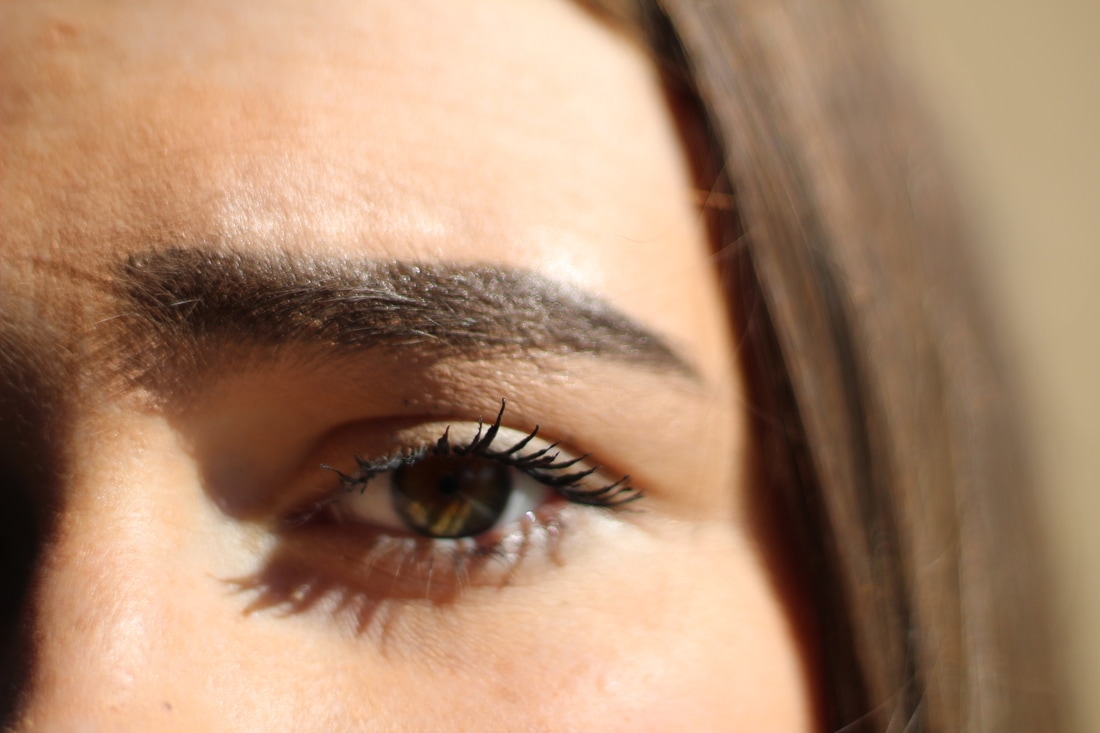
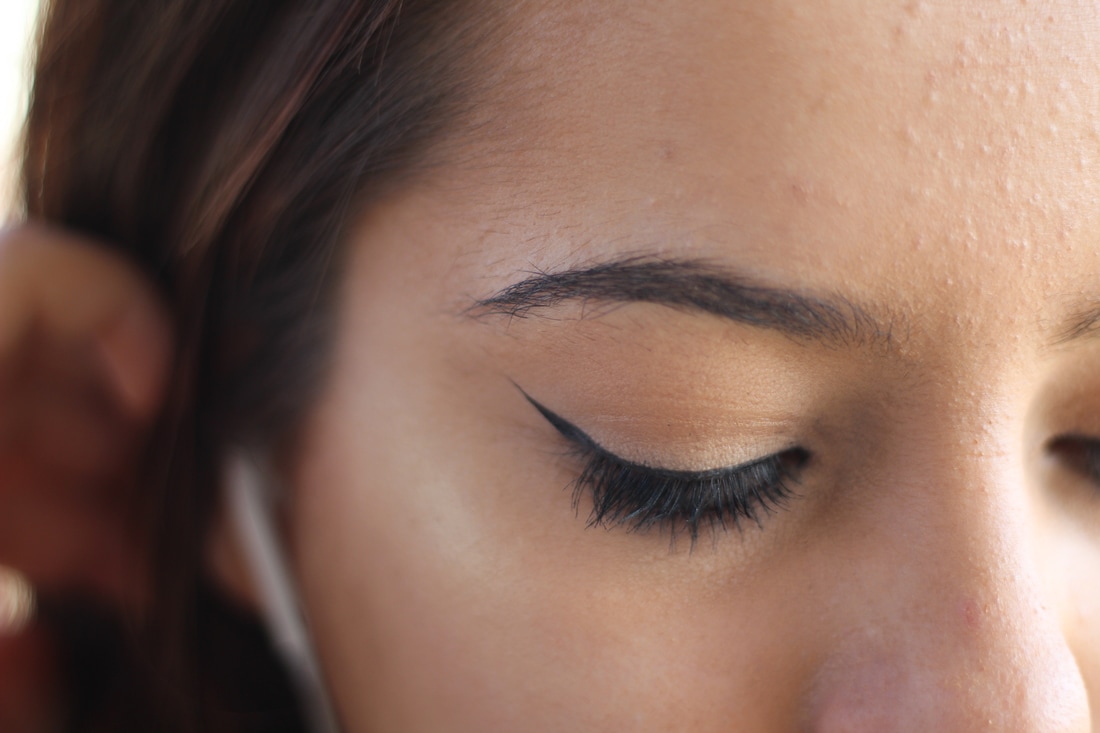
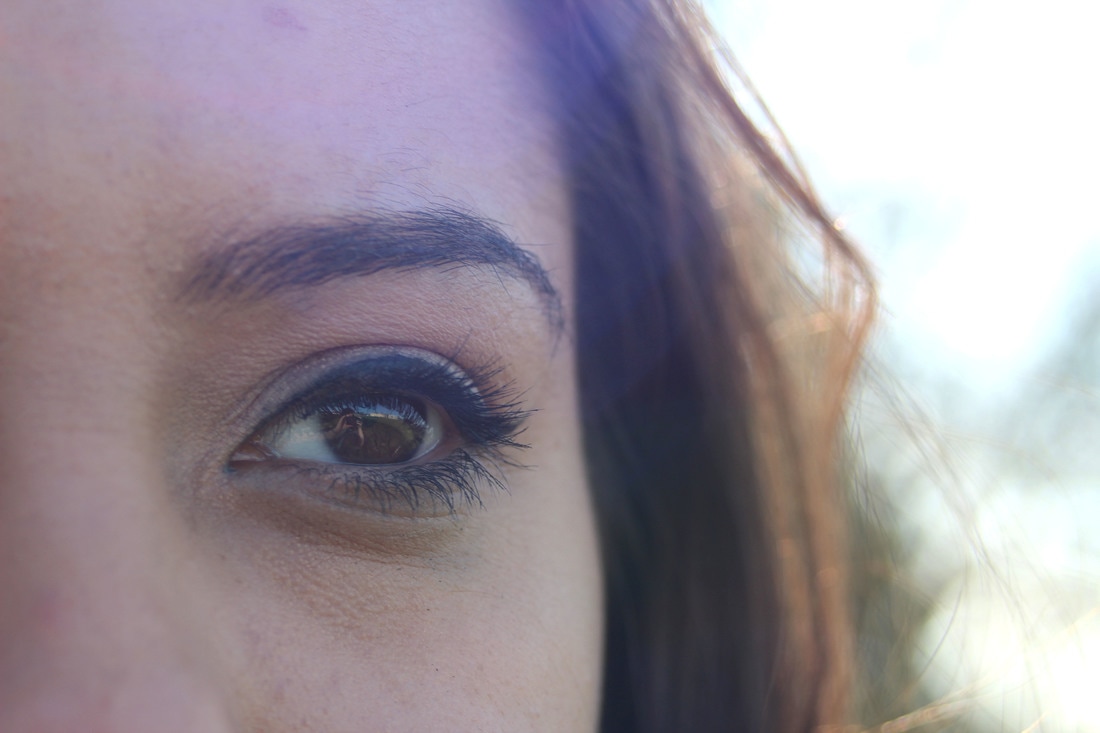
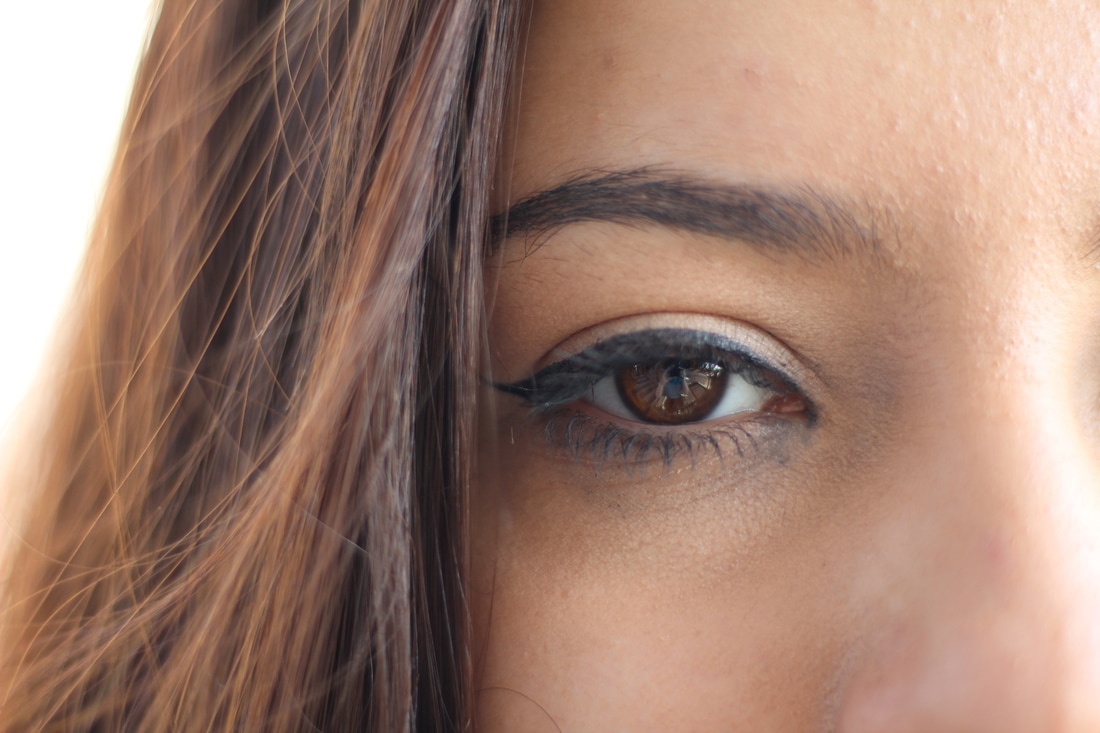
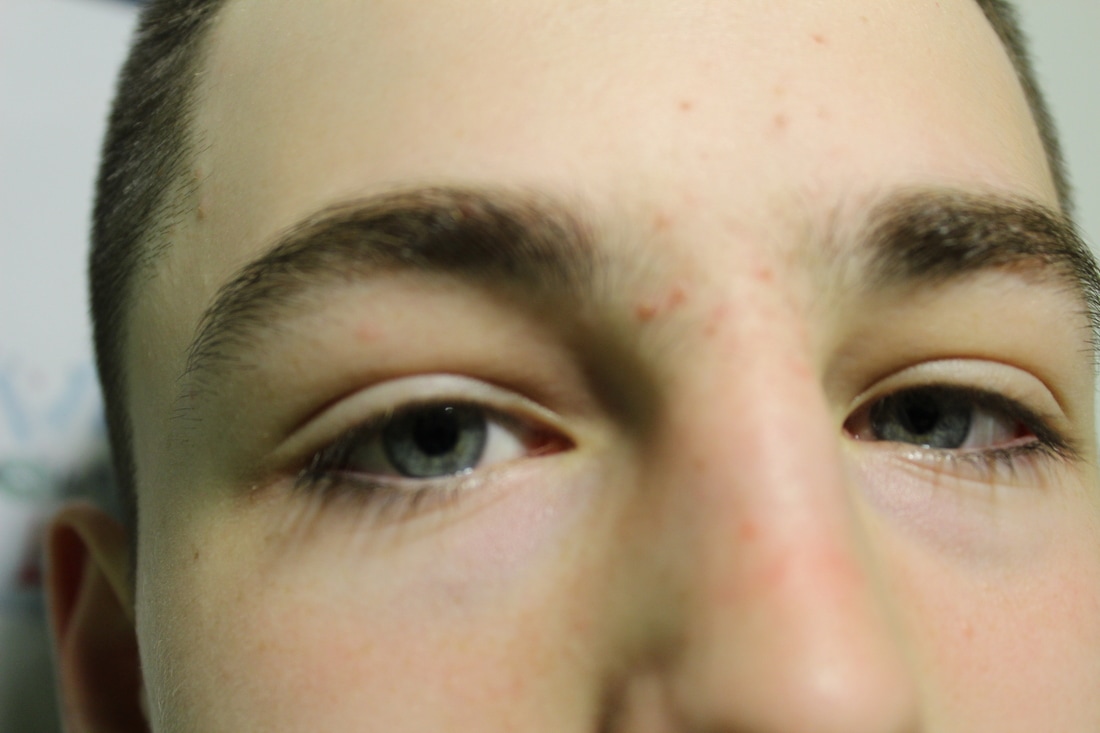
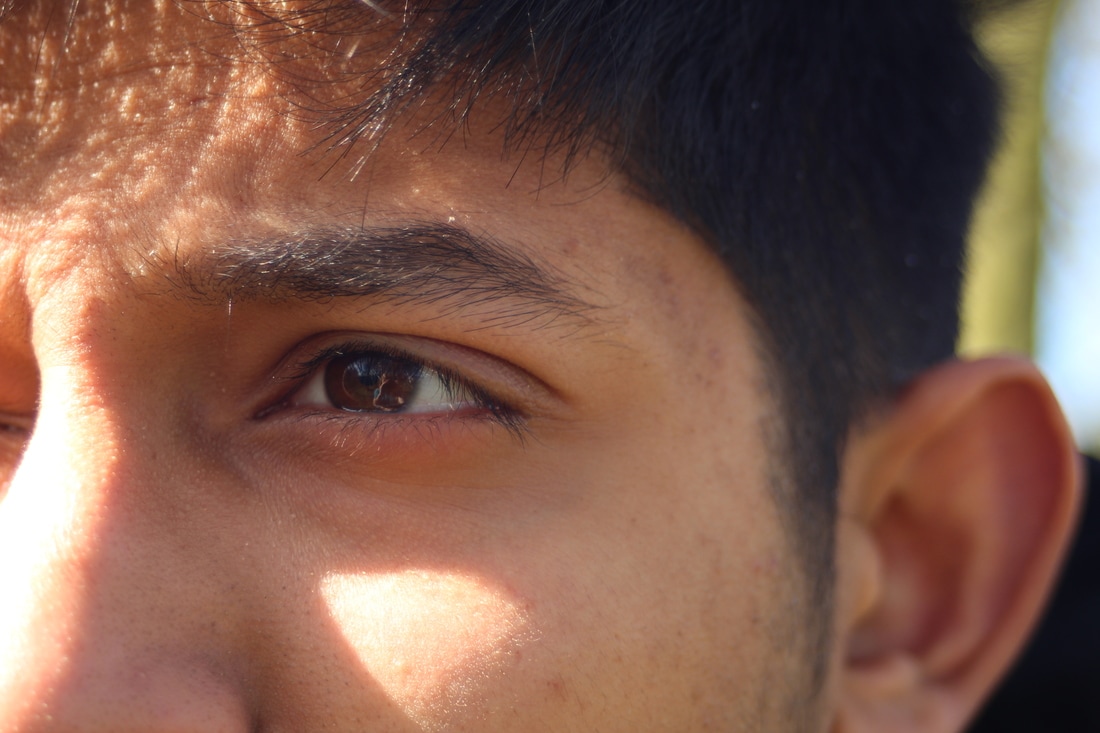
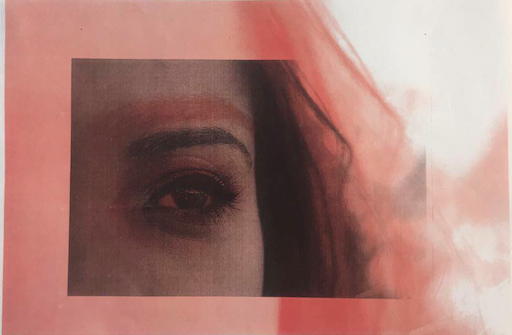
I decided to take photos very up close of peoples faces to show there features and everything about them for my detail project because I was inspired by Mogan Andrei , who captured photos of just eyes themSelves very closely, and if you look very closely upon her photos you are able to notice her reflection of her camera and parts of herself, where as my photos are the area around the eye so you are able to see the eyebrows still and part of the nose in some.
|
|
|
|
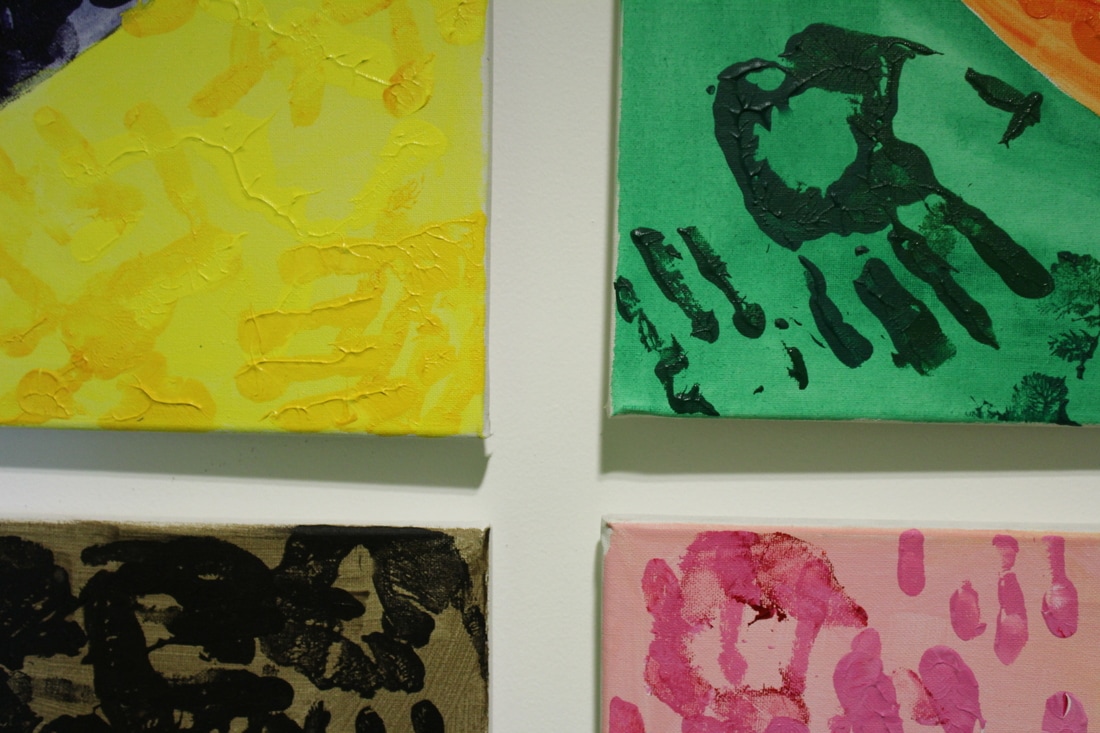
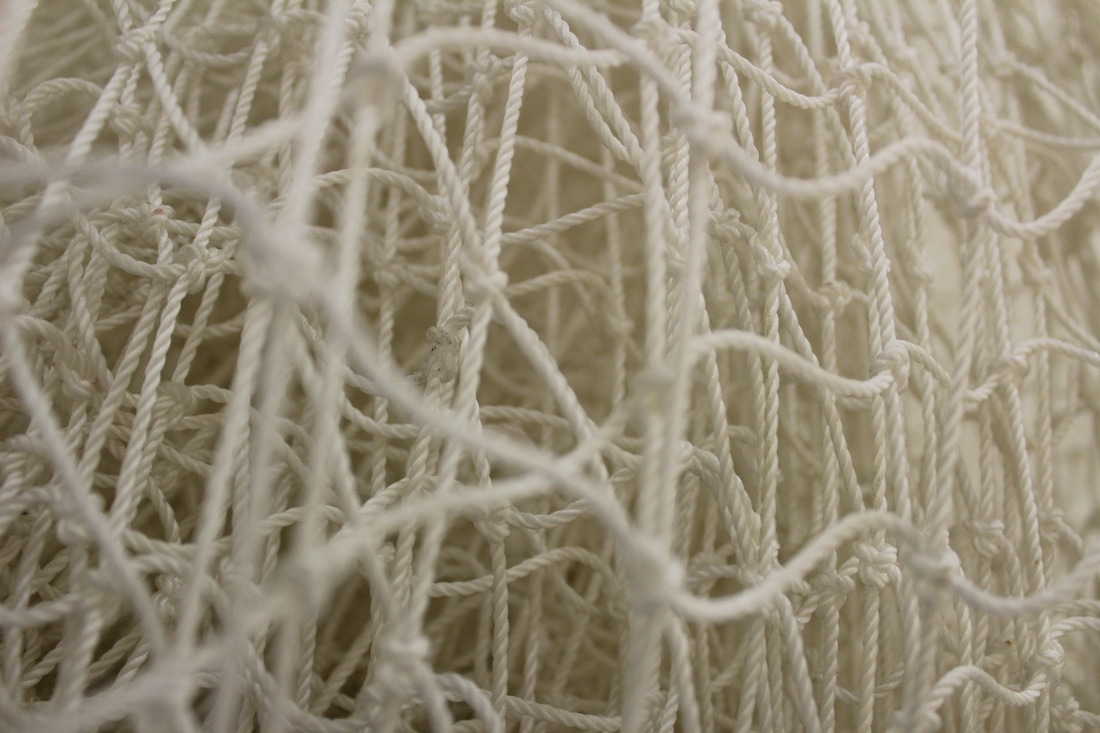
I especially like the photos I have taken very close up to peoples faces. I like these photos a lot because in the first photos of the objects not the faces , you are able to see all the textures within the photo and I like this because if you are able to see the textures you are able to understand more on how things are made and what they actually are incase you was unsure or finding it difficult to work it out. - (I took these on 15/3/17).
|

My first final project.
|
|
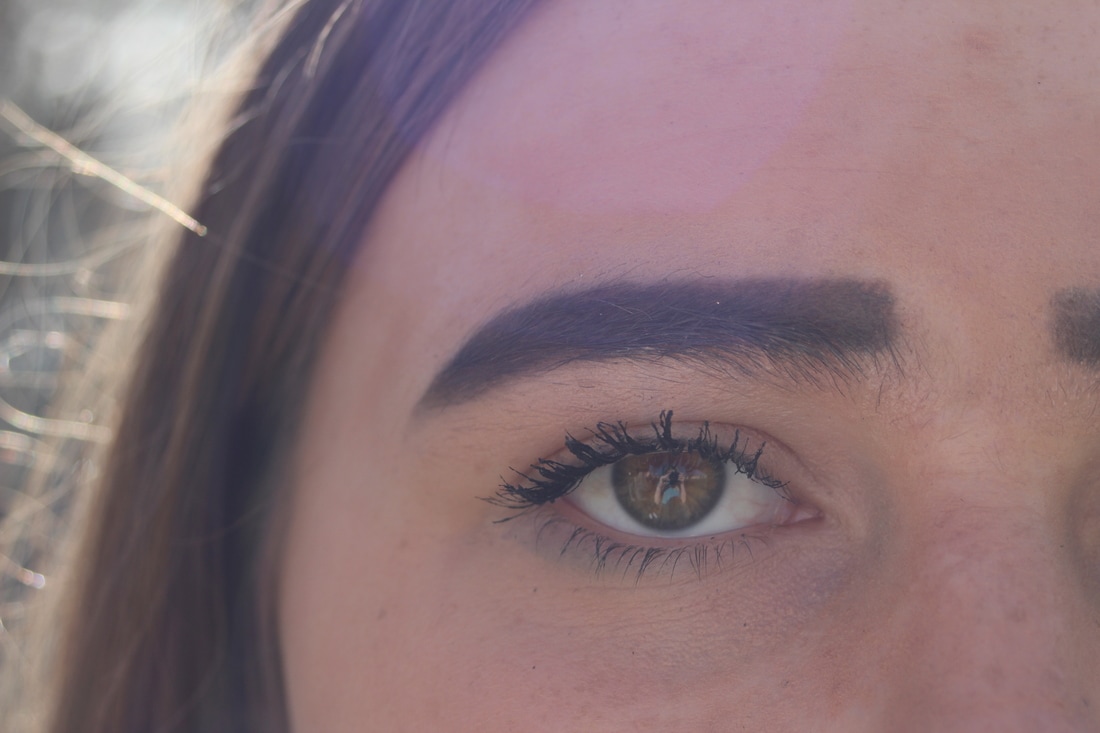
I used photos that I had taken with a normal canon camera and i printed them off on A3 paper and edited them so they was in different colours and so the photos look sort of 3D, But you are still able to see all the detail in the photo like , all the different stands of hair and single eyebrow hairs and eyelashes and you are able to see my own reflection inside of there eye.
|
Experimental montage.
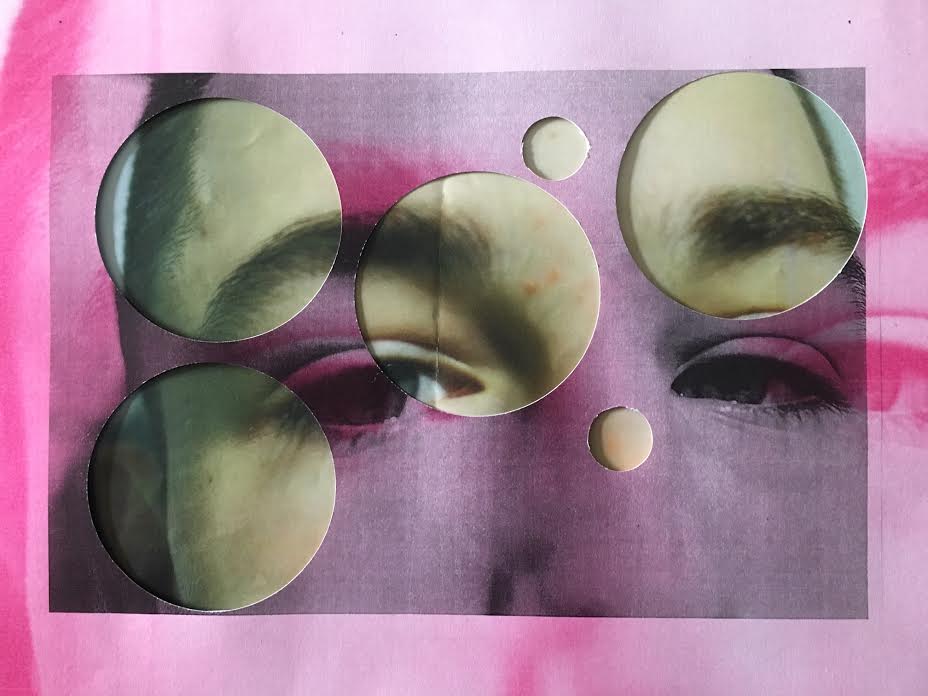
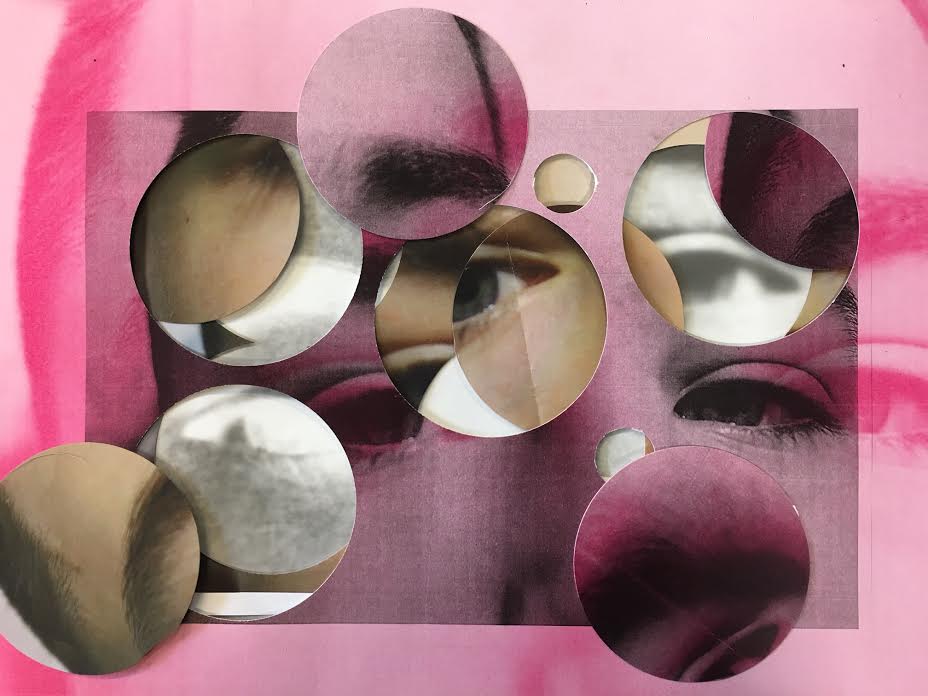
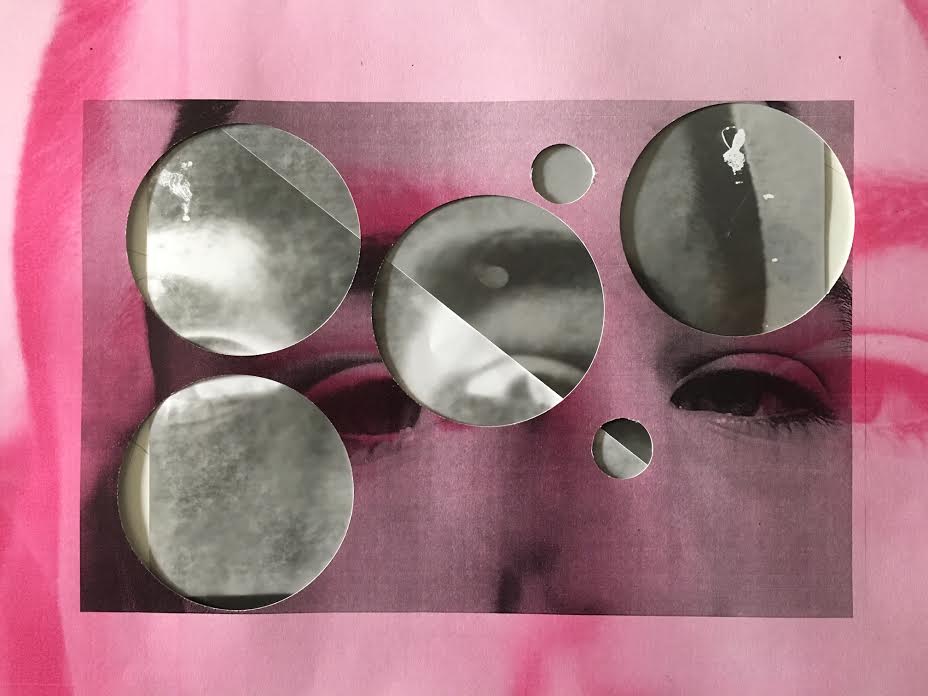
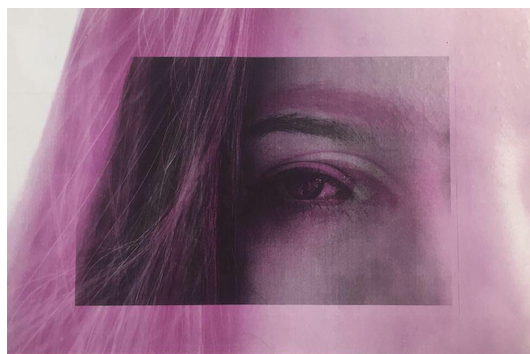
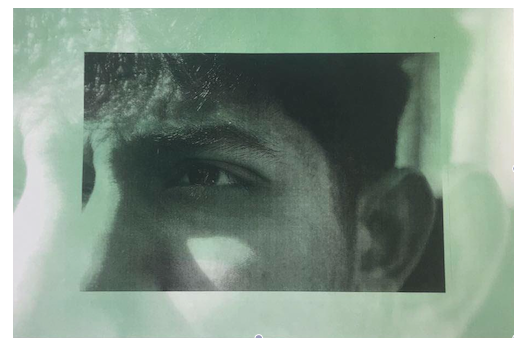
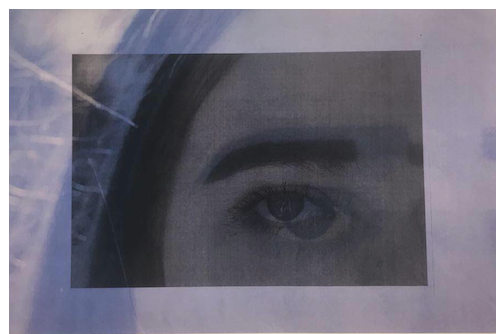
These are experiments i tried on a photo of my friend Ruben Loosmore, I have decided to make this my second final project because there is a lot of detail in the photos, for example, you are able to see the different single eyelashes and all the other small features on his face and all the detail inside of his eye.I started off using a macro lens on a canon camera just taking an up close photo of their faces and once I took the photo, I then printed it out on a A3 sheet of paper but I edited it so the photo came out in pink. I then went into the dark room and i used paper negative and made a black and white positive. I kept cutting holes in the main pink photo and then re-arranged the positives and negatives underneath the cut outs or I cut parts of the negatives and arranged them differently, So they were all presented under or on top of the main A3 sized photo to make my final image. I decided to try it out a few times because the outcomes were different and i may have preferred all the images in a different arrangement.
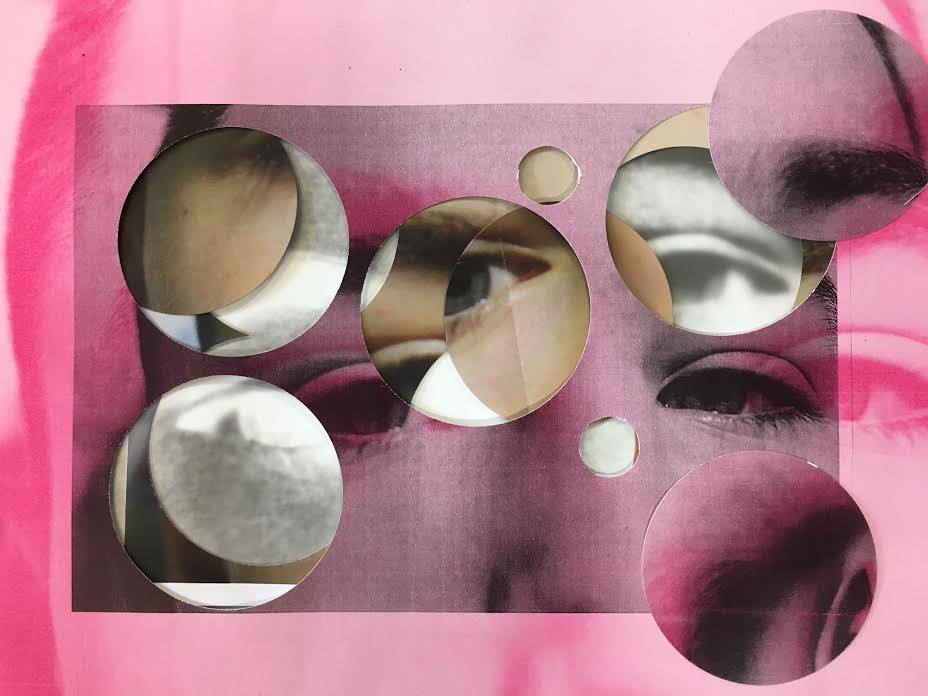
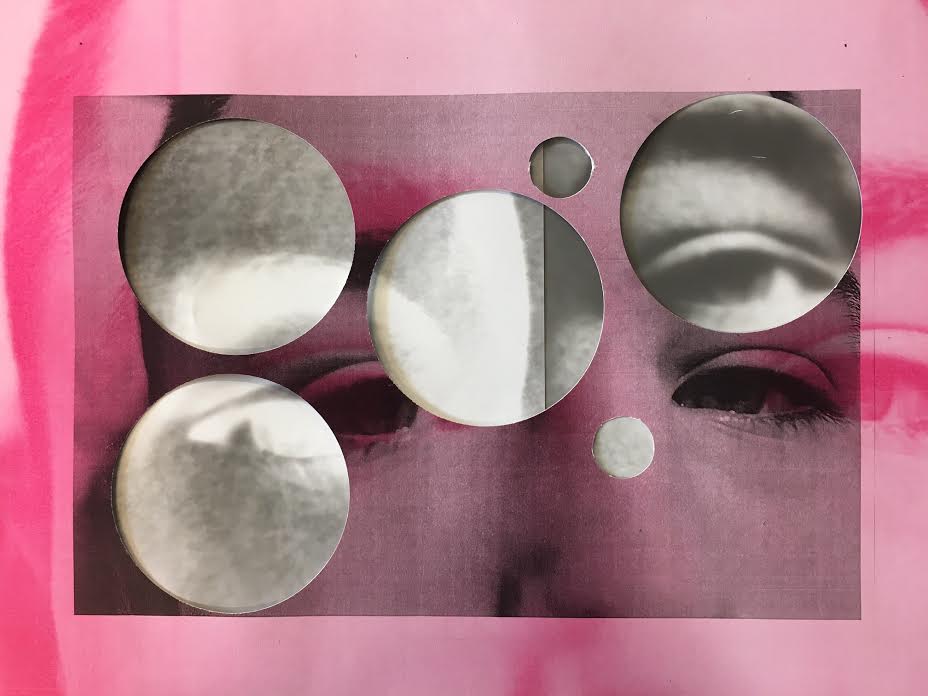
My completely final project.
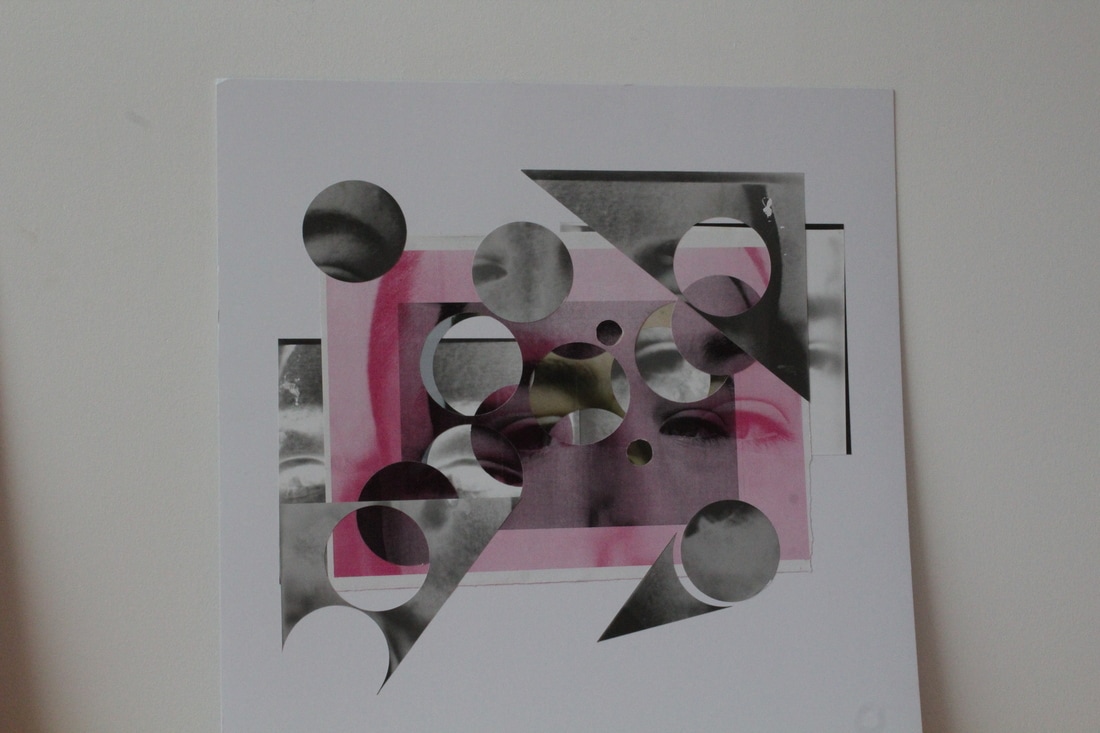
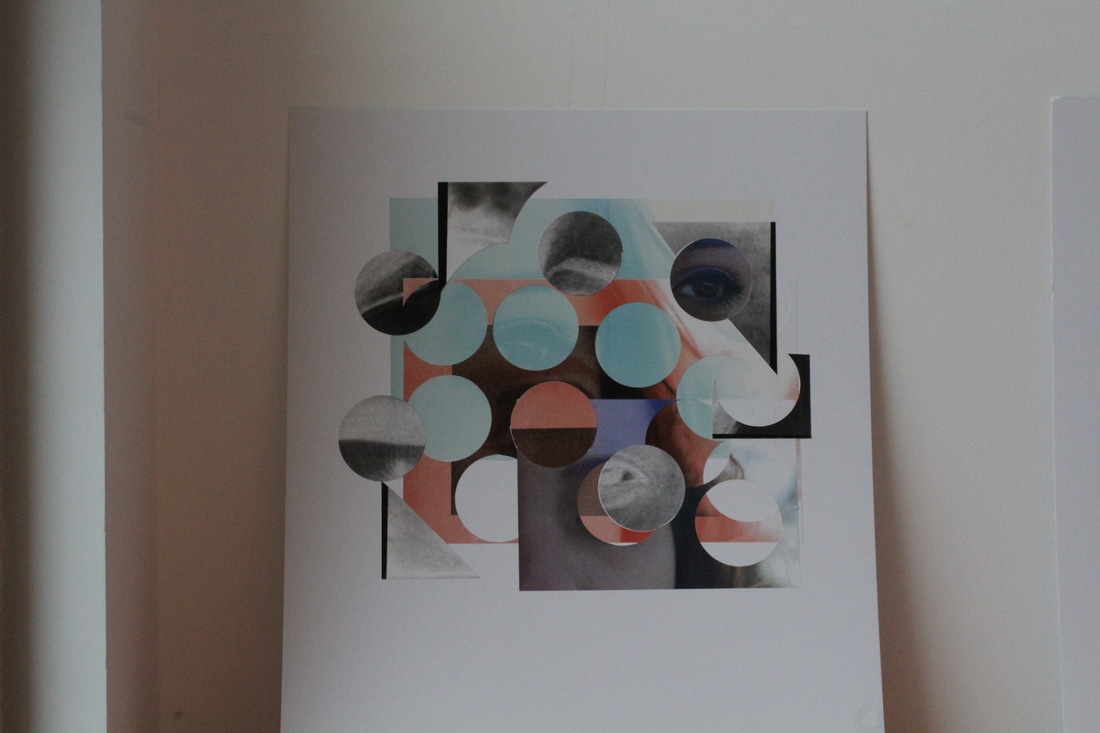
The theme I decided to do is 'Detail' because anything could be represented under detail because everything has detail in it in someway. So detail even though it could be seen as an easy topic, it could be challenging trying to make something no one else has or has previously thought about.
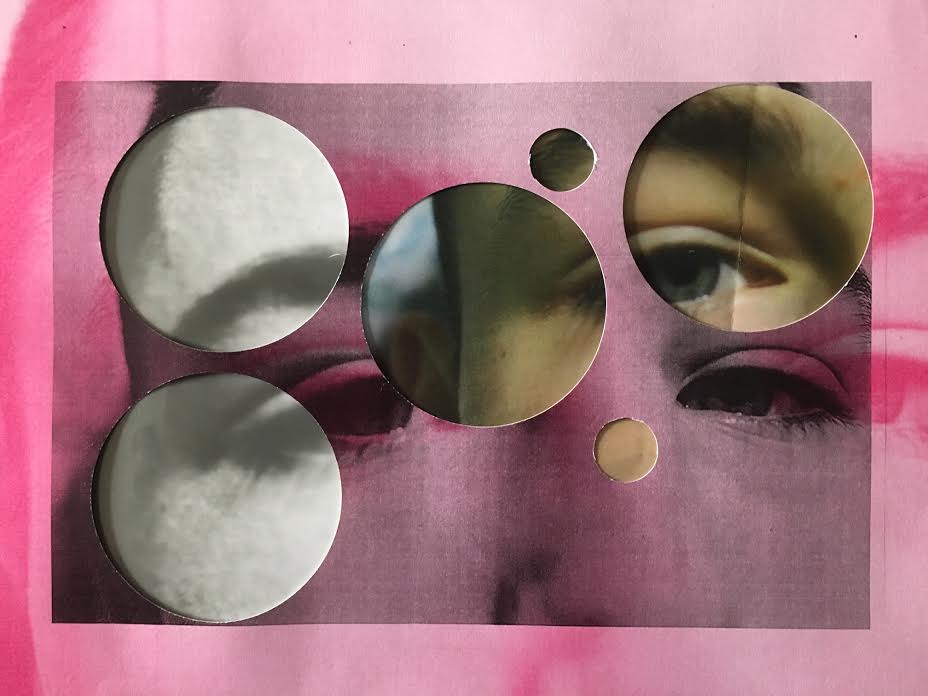
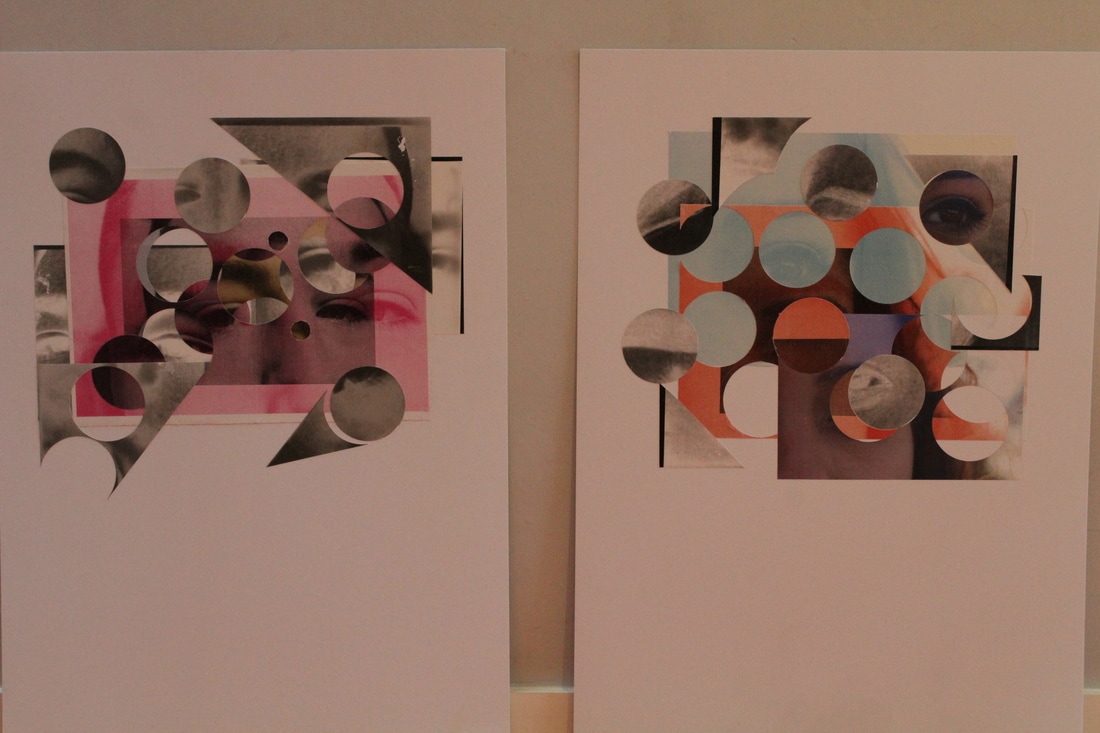
The photos above are my final outcome. I decided to only make two because it shows more detail , if i was to make more than that would have taken the focus of all the small detailed parts.I think what went well is that the colours go really well together, they don't clash because the colours suit the others colours that are with it nicely and the colours I have used are both bright and not very dull so it makes the montage's stand out. I started off with a normal photo which was very unclose of someones face , which captured all of there features like all the patterns inside of there eyes and small stuff like stray hairs on there face and single eyelashes and eyebrow hairs and other stuff that stand out on there face so that was very detailed. I then used a photocopier on the original photo to enlarge it and change the colour of the photo completely, for example on one of them i changed the whole photo to the colour pink. I then when into the dark room, with the original photo and I used paper negative and made a black and white positive. After I had all the images I used a circle cutter and I cut lots of circles out of all three images and other random shapes with a knife. I got a massive bit of card, which I was going to display my work on and I arranged all the photos under and over each other and I got all the circles and other shapes and placed them underneath and around the edge of the main photos and after I finished arranging them I mounted them onto the display board to get my finished outcome.
My idea first came to me when I was researching a photographer called Mogan Andrei , who captured photos of just eyes themSelves very closely, and if you look very closely upon her photos you are able to notice her reflection of herself and her camera. I loved her photos so much I got inspired and decided to take photos very closely of peoples eyes but instead of just doing there eyes like 'Mogan Andrei' did I captured the area around the eye in order to capture more detail.
I experimented with a lot of different photos and different sizes and during this process I made a lot of different montages in order to find the one I like the best and stick with it the whole way through. I have recorded and documented all my ideas by taking photos regularly on my phone, even if they are ideas that I may not have used but still wanted to keep them to analyse them and write why I did not use them in my final piece.
I am satisfied with my final outcome because it is quite different to anything else other people would make and i also like how , even though there is a big focus on the models face and all the detail that is captured in there face there is also a lot of detail and texture in the images that were created in the dark room and on the enlarged photo of the original image because it was enlarged onto sugar paper giving it more texture than just a plain bit of paper.
